Showing posts with label tops. Show all posts

Sunday, 17 November 2013

From A - Sloppy Josephine Tee

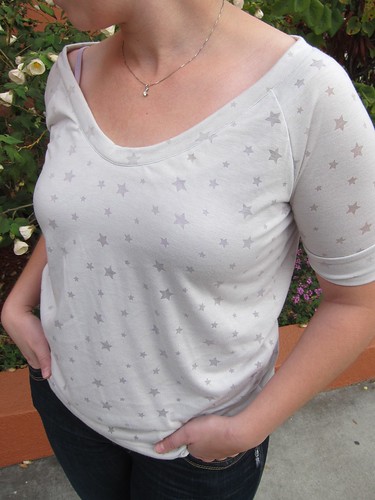
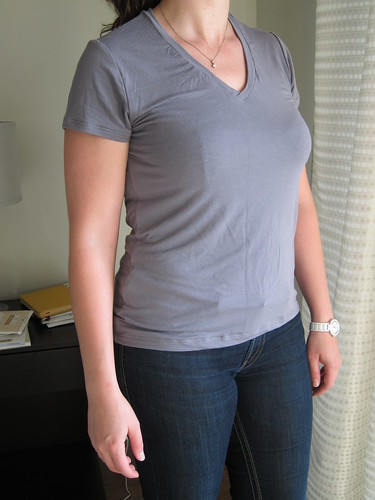
My general clothing philosophy is comfortable, casual and fuss-free. This basically means that I live in knits. Knit tops, dresses, pants. You  name it, I probably own it in a knit. Since I would much rather shop for fabric than shop for clothes and needing an excuse to play with my new machines, I whipped up a new t-shirt this weekend.

Sloppy Josephine Tee

This is the Sloppy Josephine Tee by Papercut Patterns which I bought a few months back when my lust for knits and sergers blossomed into a full blown obsession.

I used some burnout jersey knit star fabric that I bought with Kelsey when we were in Seattle. It's a rayon/cotton blend jersey that is super duper soft and downright snuggly.

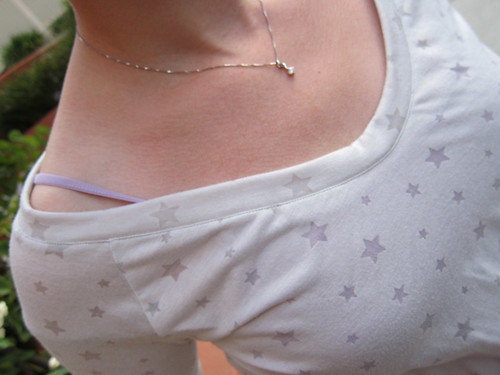
Sloppy Josephine Tee 

This top went from fabric to finished in only a few short hours. The pattern was pretty straightforward if a bit light on instructions. I didn't alter it at all except to add some top stitching to the neckline. I'll likely shorten the neckband a bit on the next one so that it holds everything in a little more but otherwise this is pretty much exactly what I was looking for.

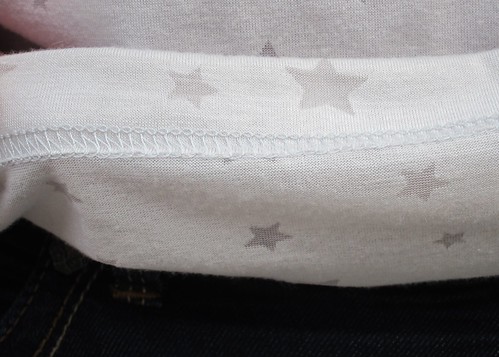
Sloppy Josephine Hem

And the new coverstitch machine? Genius. The hem was finished cleanly and professionally in about 15 minutes. It was so easy and painless that it might even have been my favourite part of the whole process.

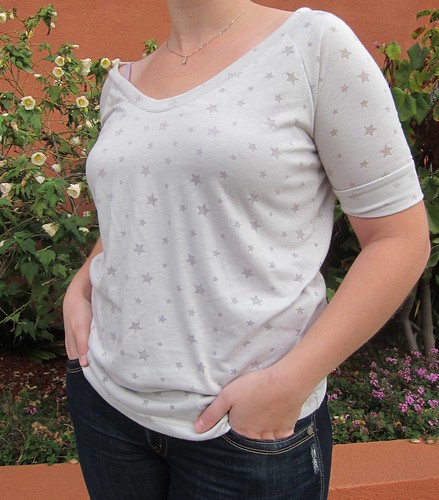
Sloppy Josephine Tee

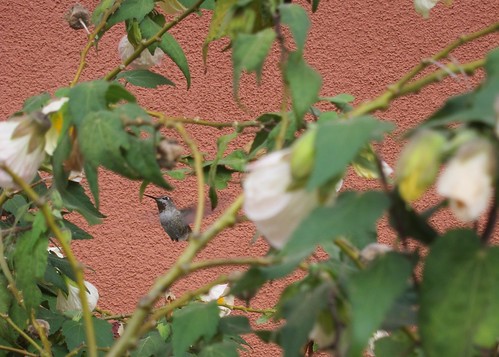
The finished result is extremely comfortable and dare I say, stylish. So cool in fact that even this little guy decided to fly in for a closer look (and probably some breakfast) while we were out taking photos.

Humming Bird

Happy weekend friends. What did you make?

Sunday, 15 September 2013

From K - Wiksten Tova

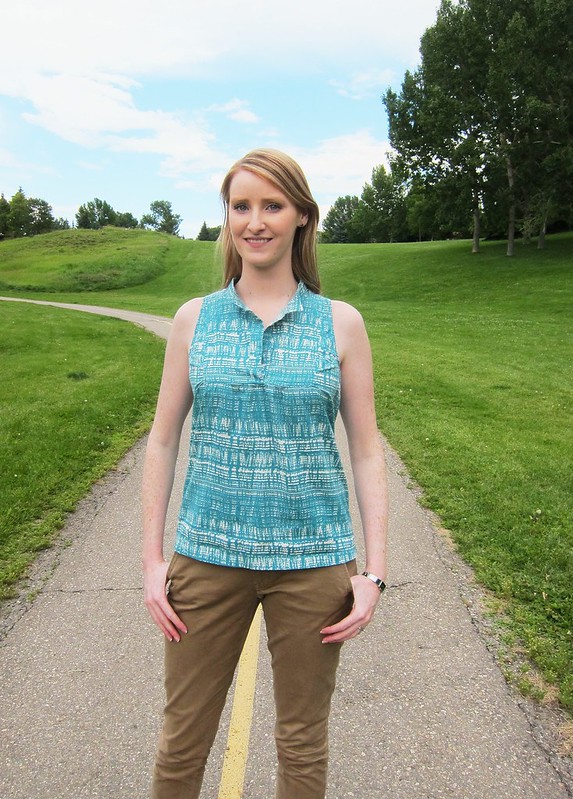
Over the weekend I was browsing through a past post about traveling handmade and I realized that I showed you a sneak peek of my Wiksten Tova, but then I didn't actual blog about it after. Today I'm going to rectify that slip by showing you the full garment, because honestly, I feel bad having led you on all this time (shame on me, tsk tsk).


I made this tank specifically for a spring break vacation in the sun, and it fit in my wardrobe like a dream. It pairs well with denim shorts, is comfortable over a bikini, and has just enough tailoring to wear out to supper without feeling like a beach bum.


I cut out a size medium to accommodate my chest but that resulted in me spending hours making alterations. In the end, I took off 2 inches along each side seam and another 3 in the back (7 total - eek!). I do feel like the bib fits me well as a medium, but reconstructing the sides, back and collar left me pretty exhausted. I'd like to try this pattern again, but next time I'll take my chances with the bib, and I'll cut out a smaller size.

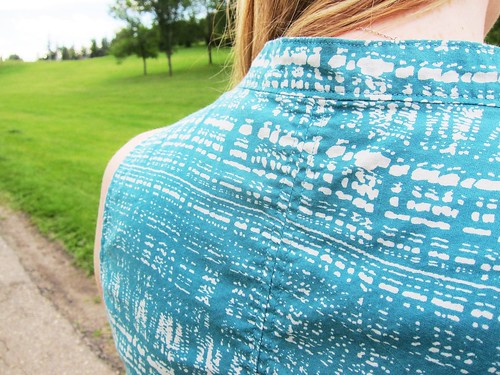
In order to reduce extra fabric from the back, I made something of a French seam down the middle of the back, and topped it off with some pretty stitching (before I added the collar). It's a small detail but I really like the effect.

In total I probably spent 5x more effort on this project than an average sewist because of the sheer number and complexity of the alterations - did I mention I also added darts and hemmed the bottom twice? Yah that happened. Why I didn't simply recut my pieces I'll never know. I learned a ton on this project and for that I am grateful, but next time there is going to be a muslin. Lesson learned!

Tuesday, 10 September 2013

From A - Eucalypt Tank on the Fly

The two Wiksten tanks I made last Fall have been in near constant wardrobe rotation. They are great for layering and are generally cute and easy to wear. For the last few months I've been wanting to add a few more tanks to the rotation and not wanting to look like I had 12 of the same top in different fabrics, I have been on the hunt to find some other sewn tank options.

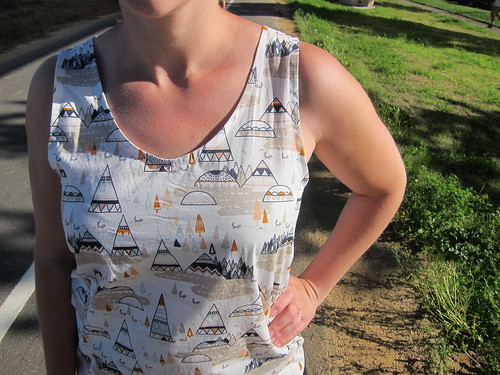
This weekend I used Megan Nielsen's Eucalypt pattern to whip up another option to my limited wardrobe using one of the prints from Sarah Watson's Indian Summer collection. Love this fabric and I have even cut out another project from my leftover scraps.

Eucalypt Tank

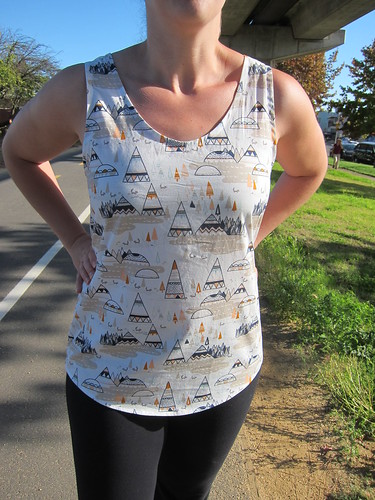
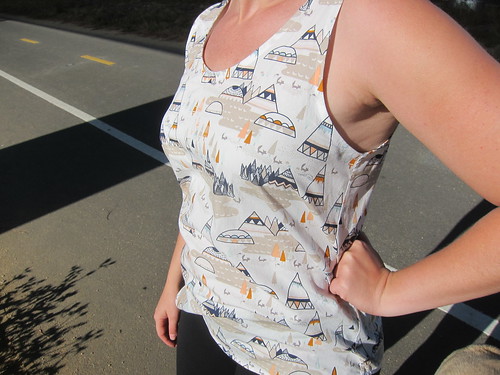
I cut a straight size medium and found it to be a pretty good fit. My only complaints would be that I find it a bit snug in the hips and that the armholes are pretty gapey on me (visible in the photo below). Although the hips seem like an easy fix, I'm not really sure what you would do about the armhole gaping...suggestions?

Eucalypt Tank

I love the neckline on the this. The almost v-neck scoop is very flattering and I like that it is scooped in the back as well. I am also a HUGE fan of the facing technique Megan has you use for the neckline and armscye. It looks very professional, more so than any other technique I have used.

A few people in the blog-o-verse have mentioned that the armscye on this top is cut too low (enough people that Megan even posted a tutorial on her blog on how to raise them). I didn't find this to be a problem for me and since I couldn't find very many clear shots of what all the fuss was about online, I'm going to leave you with a photo of my armpit so you can judge for yourself (don't look so shocked...it was bound to happen eventually).

Eucalypt Tank

Happy Tuesday!!

Saturday, 27 July 2013

From A - Clearing Out the Cobwebs

One of the best things about moving is how it forces you to get stuff done. As I was packing for the road trip, I found more than a few projects that had been stuffed into bins and boxes and long forgotten.

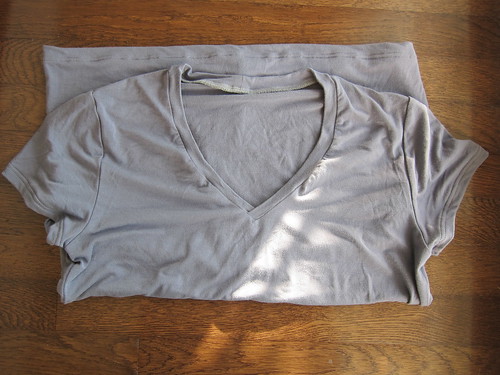
Grey T-Shirt

Way back in November 2011, I took a T-Shirt making class to build on my virtually non-existent serging skills. I managed to finish everything except the hems during class (partly because I hate pressing hems and partly because the cover stitch machine was on the fritz) and then my nearly finished T-Shirt sat on my To Do list for the better part of two years.

Since I don't have a serger or a cover stitch machine. This was a must-do before leaving the city.

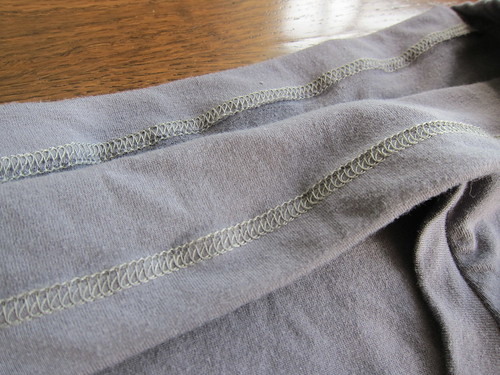
Seam Detail 

It took me a couple of tries to figure out the cover stitch machine but even with my incompetence it only took about an hour to finish this up.

Being Worn 

Love bamboo jersey I used for this. It is cool to the touch and silky smooth. A perfect basic for my summer wardrobe.

Wednesday, 3 April 2013

From K: A Second Kaftan

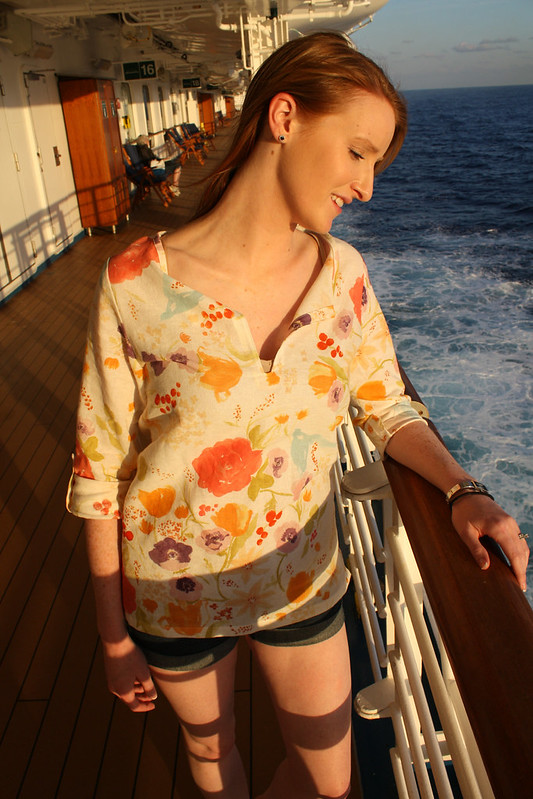
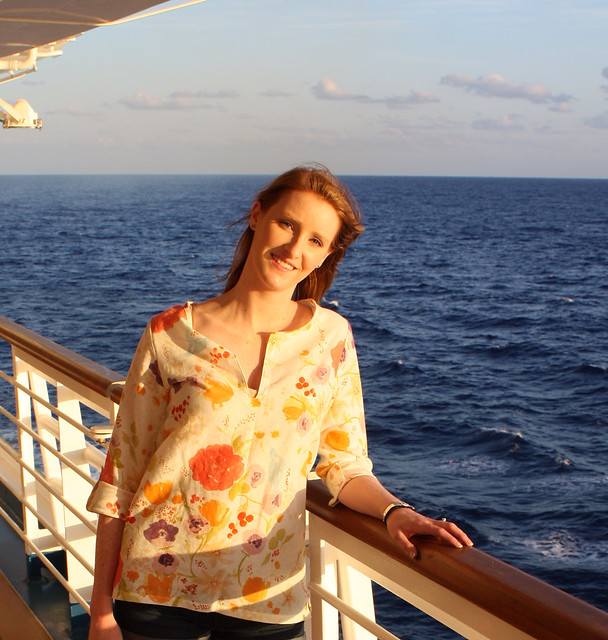
Last week while showing you my travelling handmade goodness, I broke the news that I was headed south for some much needed R&R. The hubs and I hopped a cruise in the Caribbean and before we left I made sure to add a few new handmade shirts to my wardrobe.


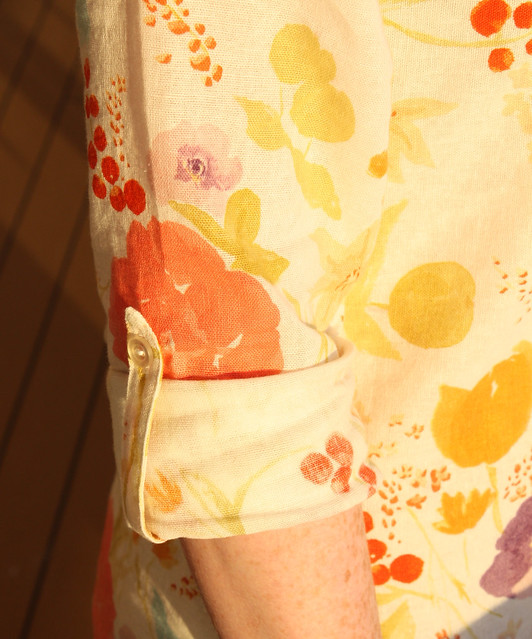
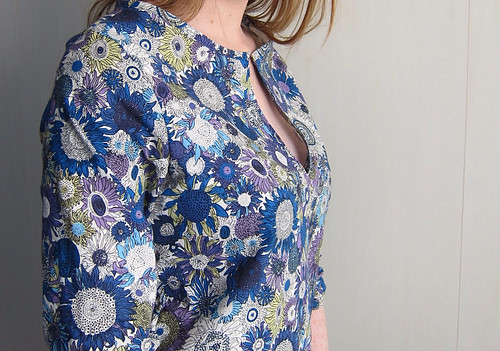
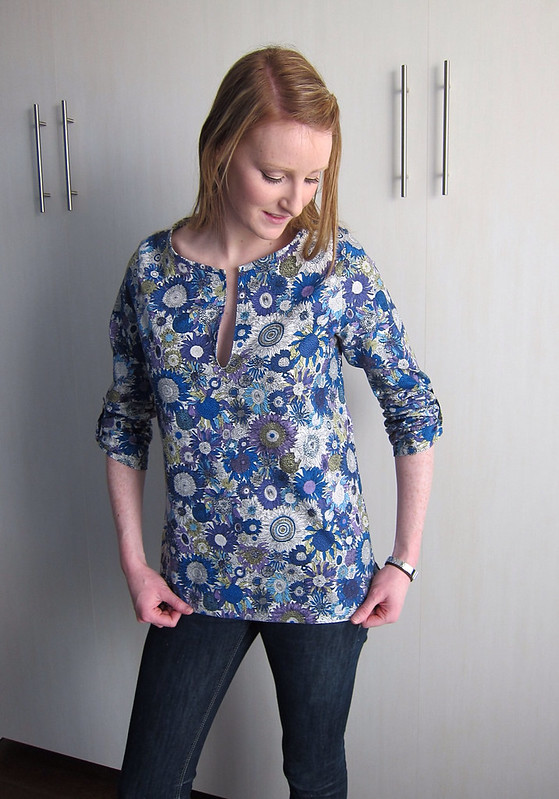
After loving my last Shearwater Kaftan so much, I took the plunge and ordered some stunning Nani Iro from Japan to whip up another. I used my amended pattern templates from my first take of this top, and I'm thrilled with how it turned out a second time.


While it was a wonderful escape for the past 10 days, it really does feel great to be back at home. I have a few more reveals from my travels coming up, and some big quilting plans in the works. After having a bit of a break, I'm really feeling motivated to hit my Janome again!

Wednesday, 20 February 2013

From K: Shearwater Kaftan

Amanda mentioned on Monday that I was out east to visit her last week. It was a very short trip, and honestly most of our time was spent watching netflix, shopping, eating great Torontonian cuisine, and hitting up local fabric/yarn stores, but I did manage to fit in a bit of sewing.

Before heading east, I bought Make It Perfect's Shearwater Kaftan pattern, and stumbled upon some $8/m cotton at my local Fabricland that I figured would work well for my first try at a new pattern.

I found this pattern to be quite simple and quick to sew up. Since my fabric was so affordable, I took my chances and made a few alterations to the pattern. I'm by no means a trained tailor, and really just guessed my adjustments according to my desired fit, but I'm very happy with the results.
In the end I lengthened the arms by nearly 2 inches, and narrowed them about 3 inches (but was sure to leave the arm hole size as is). I also shortened the body by an inch and took 2 inches off each side of the flare.

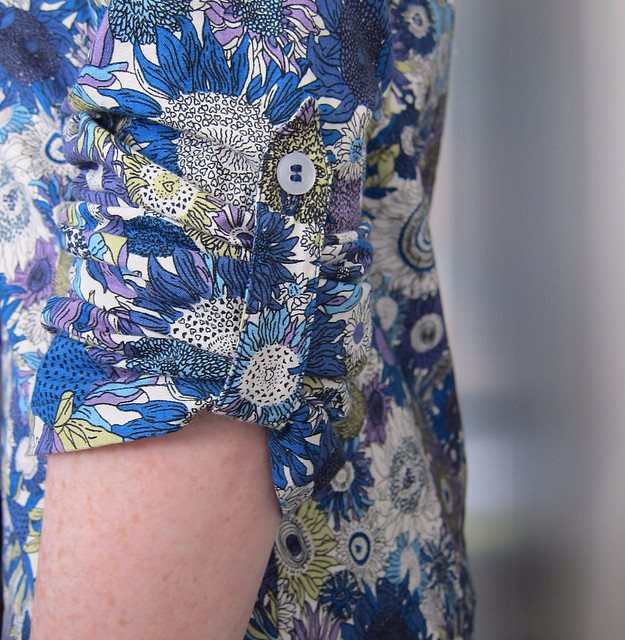
I love the finished product, especially the cuff detailing at the elbow. I know that I will definitely get a lot of use from this shirt and have already started planning to sew up a second one! I foresee a few more spring time wearables in my future.

Sunday, 23 September 2012

From A - Tanks, That Was Fun

After a truly crazy week, I managed to finish my second Wiksten Tank and take advantage of a few hours without rain to get some outdoor modeled shots of both tanks.

The first one I made was a bit of a muslin before I started cutting into my prized Liberty of London tana lawn. The fabric I used for this first one is a gorgeous quilting cotton from Martha Negley's Farmington collection.


I really love this print and plan to use it as the lining in the duffel bag I plan to make in the next few weeks.


The second one is made from my precious stash of tana lawn in Wooky Hole. I love the seemingly random mixing of colours in this fabric. The print has so much variation and detail. It really reminds me of striations found in rocks and minerals. As with my feather tank, I took the time to make a perfectly matched breast pocket.


This is the first time that I've actually sewn with any of my Liberty. It is such gorgeous fabric with such a fabulous hand and drape. It was definitely a bit nerve racking to sew since the fabric is so fine and lightweight. I'm hoping that this simple tank will inspire me to crack into my Liberty stash and make a few more projects from it before too long.


I am really surprised how the different drape in the two fabrics changed the way each of these fits. I don't make many garments but I'm really happy with how these tanks turned out. I've been wearing them constantly since finishing them up (with cardigans since the fall chill has definitely set in).


Hope you are all enjoying a fantastic weekend!

p.s. - is anyone else beyond excited to get their hands on Liberty's line of quilting cottons? I'm stalking searching etsy and other favourite fabric sellers websites almost daily. I'm hoping to get my hands on a FQ bundle of all 55 prints. Let me know if you have any leads!

Monday, 17 September 2012

From A - Making Pockets Match

There's nothing quite like those finishing touches that turn something good into something great. That is the feeling I got from taking the time to perfectly match the prints on my Wiksten tank so that the breast pocket faded right into the front of the top.


Although I am sure there are about 1000 other (and likely better) ways to do this, I figured I would share my method in case you wanted to give it a try.

Cut the front of the tank top, following the pattern instructions.


Transfer the pocket placement markings onto the fabric for the front of the tank. For this tutorial, I used a mechanical pencil to put small dots on the fabric at each corner of the pocket but I actually prefer using tailor tacks as they don't end up leaving a mark that you need to worry about trying to wash out.

Mark the seam allowance on the actual pocket pattern piece. The unmarked rectangle in the middle (highlighted in yellow) will be the finished pocket area.


Line up the corners of the finished pocket area (in yellow above) with the pocket placement markings on the front of the tank top. Lightly pin the pattern piece in place taking care to keep the pin heads to the outside of the pocket pattern (making them easy to remove later).


Grab some extra fabric that exactly matches the area for the pocket. Place the fabric right side up on the tank front and adjust its position until the prints line up perfectly (I like to check the alignment at various points in the print to ensure accuracy).


Carefully pin the matched fabric to the pocket pattern beneath it, taking care not to pin all the way into the front of the tank (The pattern should be sandwiched between the tank and pocket fabric). At this stage, I like to trim the pocket fabric so that it is about 1.5 to 2.0 inches larger than the pocket pattern on all sides. This is not necessary but it allows you to remove all of the unnecessary fabric and makes things a little easier to manage.


Remove the pins that are holding the pocket pattern to the front of the tank so that you are left with the pocket pattern pinned only to the wrong side of the perfectly matched fabric you cut for the pocket.


With the pocket pattern and matched fabric still pinned, cut out the pocket from the wrong side using the pattern.  Follow the pattern instructions to attach the pocket to the front of the tank, ensuring that the print matches perfectly before sewing it down.


VoilĂ ! A perfectly matched pocket that is almost invisible when you are wearing the finished top.

Thursday, 13 September 2012

From A - Denial

While most crafters look to their stashes for wools, flannels, and other materials that might fend off the cooler nights that inevitably begin making an appearance this time of year, I keep thinking about summer and how I'm not quite ready for the upcoming change in season.

Although it is dark when I when I wake up in the morning and the sun is usually setting on the drive home from work, I keep hoping that there will be just a few more days where I will be able to enjoy the heat of sun on my skin before scarves and heavy sweaters take over.

There's no better way to celebrate this optimism (a.k.a. total denial) than to make a breezy summer tank. That's right. After almost 2 months of procrastination, I have finally managed to finish my very first Wiksten tank.


This pattern is so well written. All of the seams and hems are beautifully finished, effectively making what is a very simple tank into something that is really special. I was so inspired by these details that I even took the time to fussy cut a perfectly matched pocket. You really have to look for it to see it on the finished tank.


I have a serious hatred of hems. Hems are probably one of the main reasons that I make so few garments. The hem on this tank is especially heinous since it is essentially just a series of curves that I'm sure were specifically designed to test my patience. After about 45 minutes of burning my fingers with the iron while futzing with the hem, I remembered a tutorial I happened upon a while back. This sneaky hem trick made the rest of the project easy and the whole thing came together in the course of one evening. Gotta love instant gratification sewing.


Modelled shots to come but in the meantime, I'm thinking I might just have to whip up at least one more of these.