Sunday 29 September 2013

From K - Liberty Dress & Metal Frame Clutch

My goal for September's A Lovely Year Finishes of was to make a second Staple Dress. I have been crushing hard on April Rhodes' dress patterns and when I came across this Liberty print, I just knew it was meant to be.

Just before heading down to Sewing Summit, I polished off this dress and tossed it into my suitcase, ready-to-wear. My first take on this dress is in steady rotation and this second one is quickly becoming a wardrobe favourite.

I'm noticing a trend that each time I finish a Staple dress, I take photos of it while visiting the U.S... the first one was in Seattle, the second in Salt Lake City.... Maybe I'll have to plan a few more dresses so I have more reasons to visits my friends to the south.


At sewing summit I took a class with the lovely Elena, where she showed us how to make a metal frame clutch using frames and directions from Upstyle. I was surprised by how quickly this little purse together and how working with glue and metal frames was far from intimidating.

I used a beautiful soft linen for the exterior and I love the subtlety of the French script. While I wanted the outside of the clutch to be all class, I knew I wanted something fun for the lining so I went for a bright blue scroll print from Joann's.


For a seemingly small clutch, it has plenty of space for a wallet, phone, passport, lipstick and car keys. I ordered five more frames upon my arrival home so you can be sure that there will be more of these in my future!
Linking up my September finish over to Fiber of All Sorts. Pop on over to see some of the other fabulous finishes!

Saturday 28 September 2013

From A - Wonky Star Quilt

Kelsey sent me a text message a few months back asking if I would like to make a quilt for our Great Aunt together. I immediately agreed and Kelsey started sending me digital palettes of the most gorgeous shot cottons. After a few back and forth emails, we placed an order (and even sprang for some amazing Oakshott cottons).

Photo 4 - 2013-09-26

We settled on a wonky star design using this tutorial as inspiration. We divided up the fabric when I was in Calgary back in July and gave each other the homework of making our respective blocks before Sewing Summit so that we could piece them together and have a finished quilt top before the weekend was out.

Photo 3 - 2013-09-26

Kelsey, of course, finished her blocks...I started cutting mine the morning before I arrived. I finished my cutting on the first night of open sew and managed to get them all sewn together on the second night. With a little bit of teamwork, the amazing vibe at open sew and the benefit of the communal design wall in the sewing room, we settled on a layout and sewed everything together.

Photo 9 - 2013-09-26

We are both really excited about how this turned out. These fabrics definitely glow. We used some Essex yarn dyed linen blend in Flax for our background fabric which added a really interesting texture to this quilt in contrast to the luminescent shot cottons.

Photo 6 - 2013-09-26

I couldn't resist this photo of the wrong side. I am really excited to see how Kelsey quilts this. I think it'll make a perfect 90th birthday gift!

Thursday 26 September 2013

From K - Sewing Summit Recap and Photos

Last week Amanda and I were very fortunate to attend the third annual Sewing Summit in Salt Lake City Utah, and I feel like I can't possibly convey what an amazing time we had - but I'm going to try my best in this post!

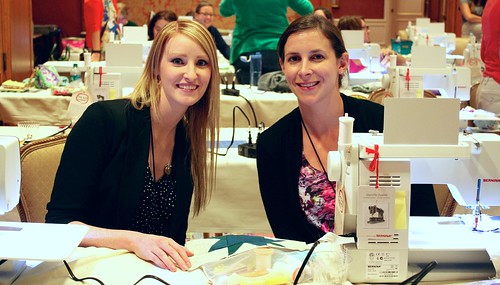
Oh look, a photo of me and Amanda... like together in a photo! ^

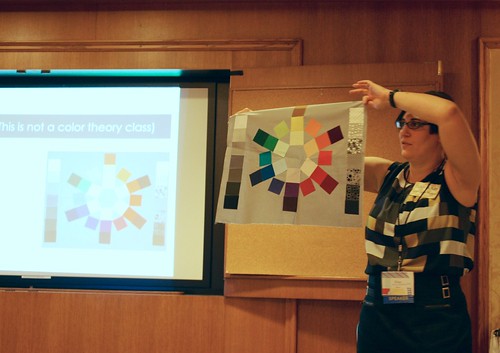
We each took 8 classes and surprisingly only 2 of those overlapped. The first class we both took was Fabric Design with Pat Bravo on Day 1, and we were blown away with her presentation. It was really fascinating to hear what inspires her and what process she uses when designing new lines.

Pat Bravo teaching Fabric Design

The second class we took together was Stash Mixology on Day 2 with Elisa from Stitch Outside the Ditch. This class was easily one of my favourite courses and I learned so much about how you can give your quilts depth and impact. Seriously people, this class was the bomb and Elisa was the perfect way to wake up after a nearly all night sew fest the night before.

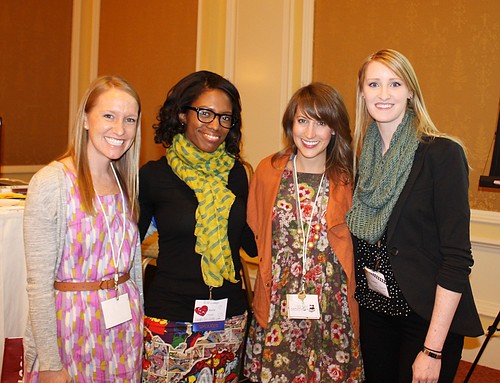
Olivia Omega's presentation on Personal Branding was the perfect mix of engaging, hilarious and completely enlightening. I think a lot of us left her course feeling empowered in who we are as bloggers and people... and maybe a few of us debated a way to steal her super cool comic book skirt!

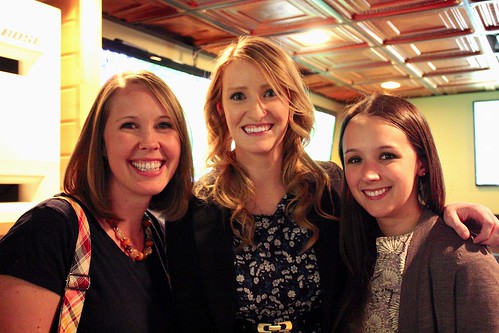
Here's a shot of Shannon, Olivia, Erin and I after the Personal Branding class.

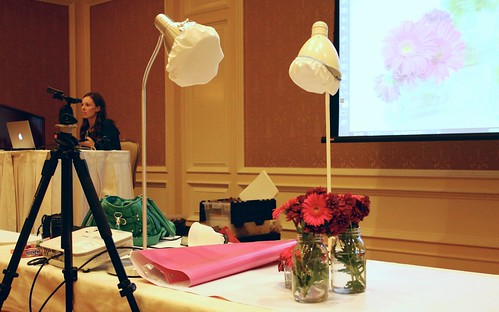
I learned a lifetime of information in Melissa Esplin's Photography course and I hope to improve my photo skills really soon! I apologize in advance for how yellow many of these photos are - the hotel lighting left much to be desired unfortunately.

Melissa posted a summary of her presentation yesterday on her blog and I strongly suggest you check it out - she has some very unique tips that are worth the read.

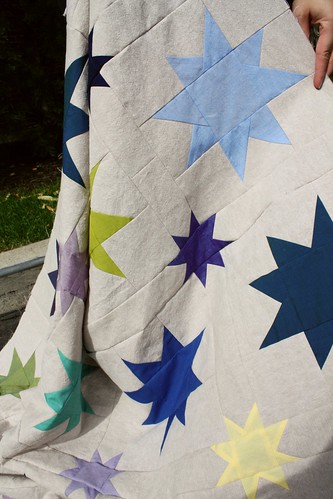
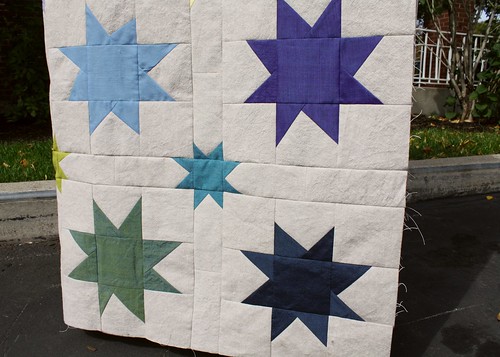
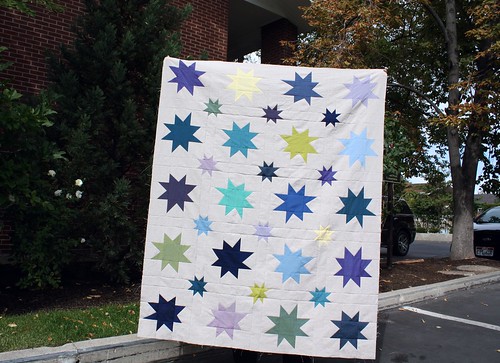
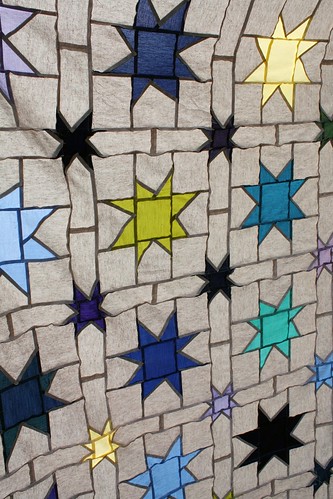
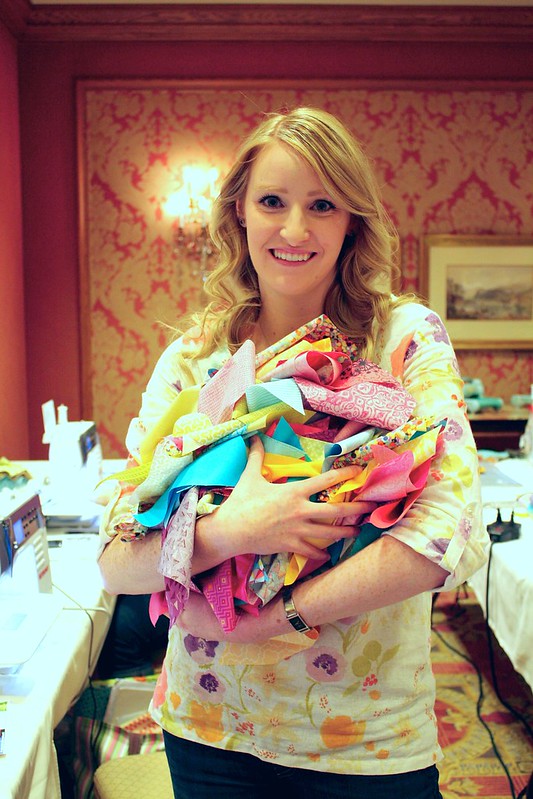
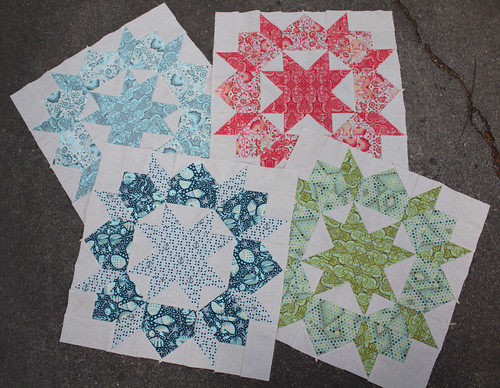
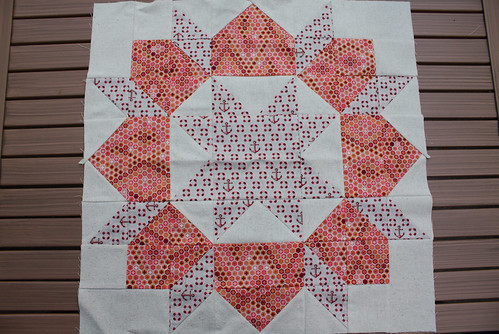
One of my favourite classes was learning how to make an Equilateral Triangle Quilt with Jeni Baker from In Color Order. It felt so freeing to purposely jumble up my triangles and then sew them together in a completely random fashion. It was the perfect after lunch hands on class and I'm excited to share my progress with you soon.

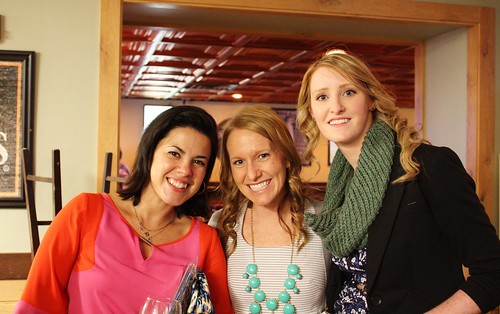
It was really neat to put real faces and voices to blogs that I love and have followed along for ages. I had more than one fangirl moment at this years' summit. Here's a shot of Katie, myself and Jeni. These girls have truly inspiring blogs and they were some of the very first I started following.

While the classes were fantastic, I have to say though that without a doubt this past weekend was incredible if for no other reason than because of all of the amazing new friends that we met. I have never felt so at home in a room full of strangers before in my life, and after only a few short days I wouldn't consider using the term 'strangers' again. We met so many wonderful people and I would be happy to bring them all home with me (seriously friends, visitors are always welcome!). Few experiences are as fun as late night open sew and the energy and enthusiasm in the room each night was infectious.

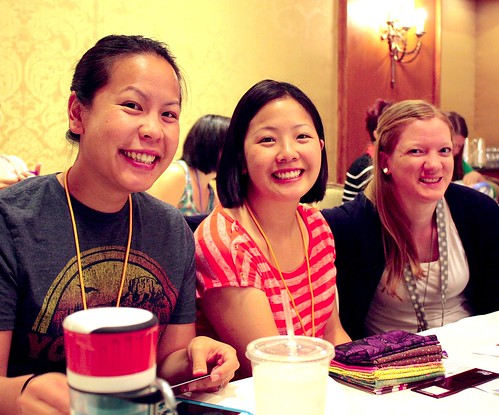
Here are just a few of the incredible people we met last weekend:

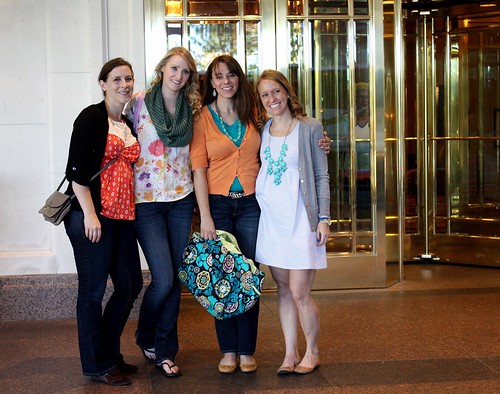
Amanda, myself (Kelsey), Shannon and Shannon. ^

Middle eastern cuisine for supper - yumm! Amanda and Erin. ^

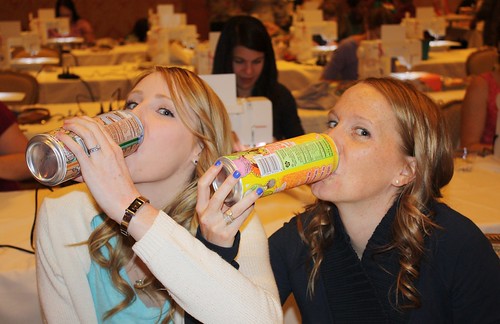
Late night open sew with delicious delicious iced tea. Me and Shannon. ^

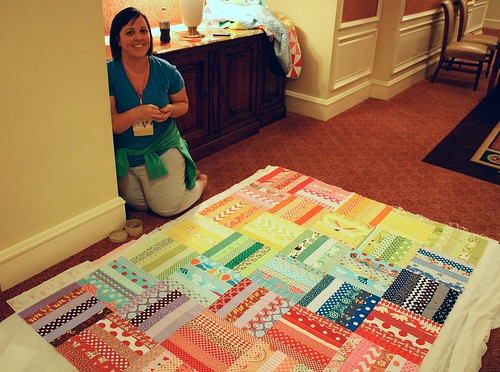
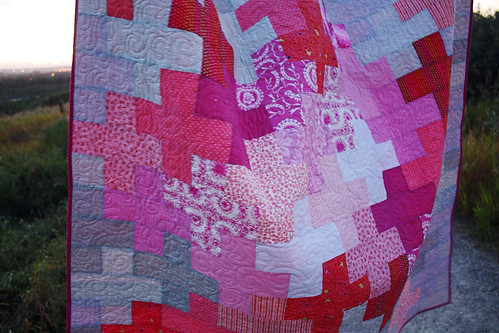
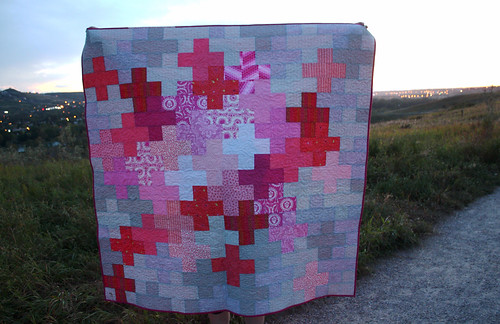
Sara and her incredible quilt. This lady was a basting machine, I only wish I could be so speedy! ^

Lynn, Christine and Kate in class being super studious. ^

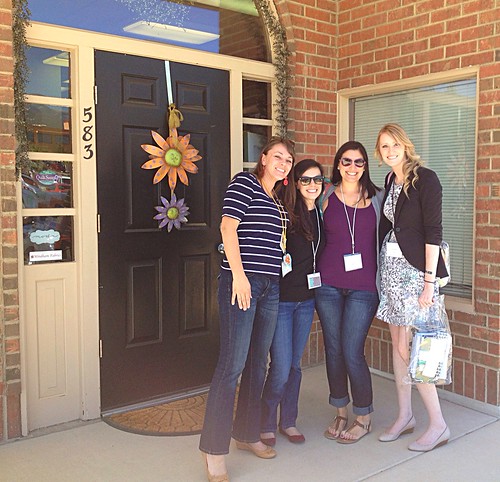
Shop hop stop at Quilter's Haven with Shannon, Megan and Anna. ^

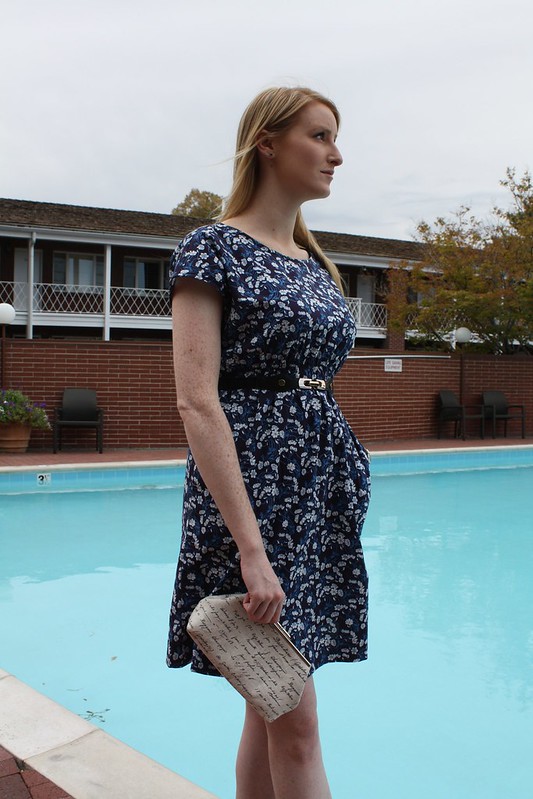
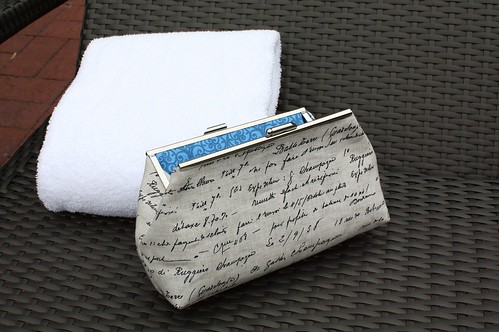
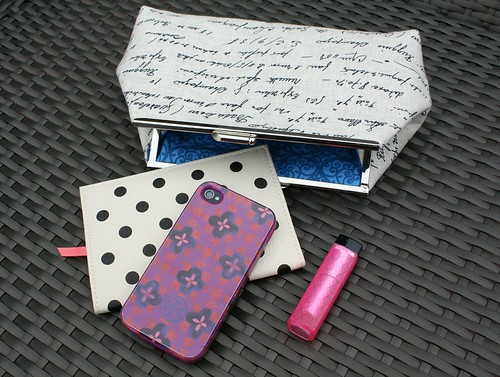
Elena (who may just be the world's sweetest person) taught the metal frame purse class and was really encouraging. I'd love to bump into this lady again someday. ^


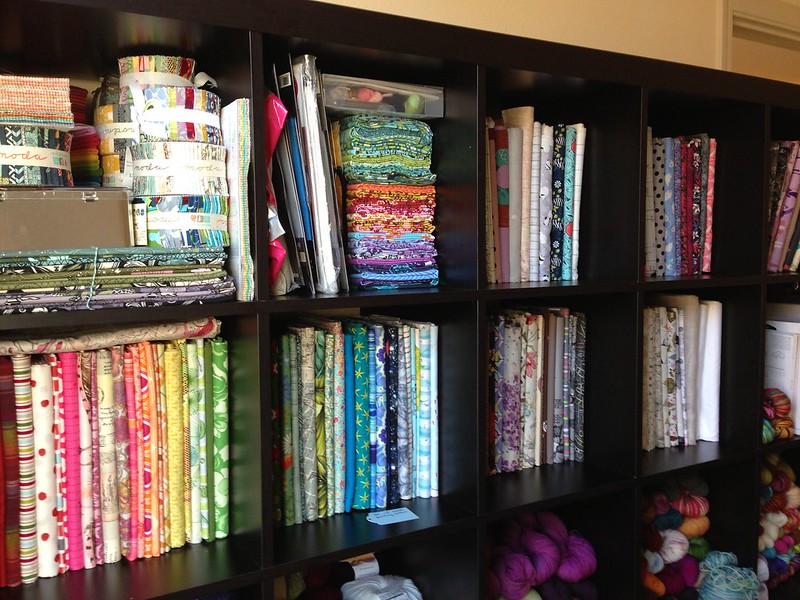
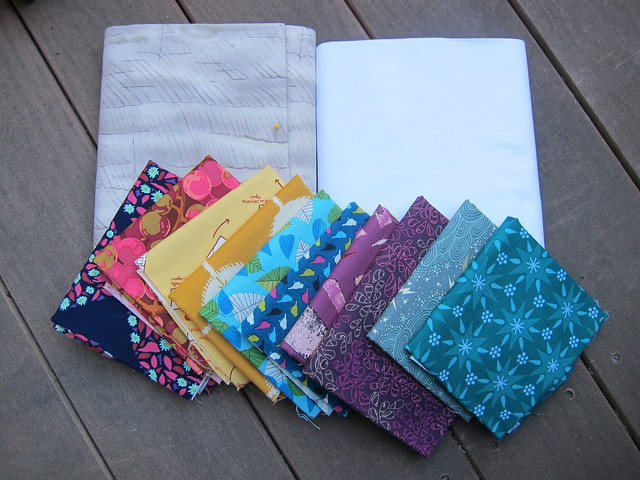
I think Amanda and I averaged about 4-5 hours of sleep each night so we're still catching up on zzz's but it was worth it in every way. I have some pressing deadlines to get cracking on and I hope to have more to share soon (including a 30lb shop hop, yarn and swag post yay!).

Wednesday 18 September 2013

From A - Stash Down

There hasn't been much sewing happening in these parts lately. On Friday, the moving truck finally arrived with our furniture and belongings...all 7,500 pounds of them. The good news is that I finally have a chair to sit in and I'm no longer eating my morning cereal out of a former styrofoam ramen noodle bowl. The bad news is that I'm living in a cardboard obstacle course.

Stash

I did manage to get most of the stash unpacked last weekend (you've gotta have priorities) and was shocked to discover how much it has grown since I packed it up last April to stage the condo.

The difficult combination of expanding stash, 20% reduction in living space and 50% reduction in storage space means that it's time to get the stash under control or the Christmas Tree might have to live in our living room year-round. This means that for the next few months, I'm going to shop the stash before buying supplies for a new project. So far, so good. I was able to pull this stack to make Camille Roskelley's On A Whim Quilt which has been on my "to make" list for years now.

On A Whim Quilt Fabrics

It looks like the stash will even be obliging enough to provide backing and binding fabric when the time comes. I'm so excited to finally use some of these treasures! How do you show your stash who's boss?

Sunday 15 September 2013

From K - Wiksten Tova

Over the weekend I was browsing through a past post about traveling handmade and I realized that I showed you a sneak peek of my Wiksten Tova, but then I didn't actual blog about it after. Today I'm going to rectify that slip by showing you the full garment, because honestly, I feel bad having led you on all this time (shame on me, tsk tsk).


I made this tank specifically for a spring break vacation in the sun, and it fit in my wardrobe like a dream. It pairs well with denim shorts, is comfortable over a bikini, and has just enough tailoring to wear out to supper without feeling like a beach bum.


I cut out a size medium to accommodate my chest but that resulted in me spending hours making alterations. In the end, I took off 2 inches along each side seam and another 3 in the back (7 total - eek!). I do feel like the bib fits me well as a medium, but reconstructing the sides, back and collar left me pretty exhausted. I'd like to try this pattern again, but next time I'll take my chances with the bib, and I'll cut out a smaller size.

In order to reduce extra fabric from the back, I made something of a French seam down the middle of the back, and topped it off with some pretty stitching (before I added the collar). It's a small detail but I really like the effect.

In total I probably spent 5x more effort on this project than an average sewist because of the sheer number and complexity of the alterations - did I mention I also added darts and hemmed the bottom twice? Yah that happened. Why I didn't simply recut my pieces I'll never know. I learned a ton on this project and for that I am grateful, but next time there is going to be a muslin. Lesson learned!

Wednesday 11 September 2013

From K - Still Swooning

Over the past couple of weeks I have been able to polish off the last 6 blocks for my swoon quilt (you can check out my first three blocks here). In the process, I definitely learned how these mega sized blocks capture the hearts of many.


They're a little bit addictive... I kind of want to make more already! I'm keeping this post light on words and heavy on pictures so scroll on and enjoy.


I heart piles of swoon blocks. I'm excited to sash these together in the next few days. I'm having a hard time right now with the layout though. For you fellow swooners out there, is choosing a layout a common struggle?

 
Linking up to WiP Wednesday over at Freshly Pieced.

Tuesday 10 September 2013

From A - Eucalypt Tank on the Fly

The two Wiksten tanks I made last Fall have been in near constant wardrobe rotation. They are great for layering and are generally cute and easy to wear. For the last few months I've been wanting to add a few more tanks to the rotation and not wanting to look like I had 12 of the same top in different fabrics, I have been on the hunt to find some other sewn tank options.

This weekend I used Megan Nielsen's Eucalypt pattern to whip up another option to my limited wardrobe using one of the prints from Sarah Watson's Indian Summer collection. Love this fabric and I have even cut out another project from my leftover scraps.

Eucalypt Tank

I cut a straight size medium and found it to be a pretty good fit. My only complaints would be that I find it a bit snug in the hips and that the armholes are pretty gapey on me (visible in the photo below). Although the hips seem like an easy fix, I'm not really sure what you would do about the armhole gaping...suggestions?

Eucalypt Tank

I love the neckline on the this. The almost v-neck scoop is very flattering and I like that it is scooped in the back as well. I am also a HUGE fan of the facing technique Megan has you use for the neckline and armscye. It looks very professional, more so than any other technique I have used.

A few people in the blog-o-verse have mentioned that the armscye on this top is cut too low (enough people that Megan even posted a tutorial on her blog on how to raise them). I didn't find this to be a problem for me and since I couldn't find very many clear shots of what all the fuss was about online, I'm going to leave you with a photo of my armpit so you can judge for yourself (don't look so shocked...it was bound to happen eventually).

Eucalypt Tank

Happy Tuesday!!

Friday 6 September 2013

From K - Finished Pink Pluses Quilt

I recently finished my Pink Pluses Quilt and I am so excited to donate it to a great cause tomorrow!
 
 
I mentioned in an earlier post that an all pink quilt was a bit out of my comfort zone so I balanced the donated pink fabrics with some gray prints and lighter pink prints from my stash. I honestly couldn't be more pleased with how well the fabrics blend together.
 
 
When contemplating what to make with a collection of donated pink strips, I thought hard about how I could make something special, yet something that still felt like it had a small piece of me in it. In the end, I went modern with the design and used a number of gray geometric background prints to balance out the bold pink floral pluses.
 
 
Since this quilt has a very feminine colour scheme, I thought I would try my hand at some swirl quilting to soften the edges of the plus pattern. It was my first time attempting this design but I know it won't be my last. I'd like to try this again soon. The texture it creates is so soft!
 
 
For the backing I kept is simple, a dominant pink fabric with a couple of modern prints to balance it out. I wanted the back to emote a similar balance of modern femininity and I hope this back reflects that.
 
 
I took these photos at sunset (which unfortunately doesn't translate at all in the pictures) and you can see I was loosing the light quickly!
 
 
If you'd like to read more about the Southern Alberta flooding and how it effected my city, I have an early post here. It has been incredible to watch the outpouring of support and donations sent in from the quilting community for this cause. I hope this quilt brings some comfort and love to a much deserving family.
 
I'm linking up to TGIFF and Finish it up Friday.

Thursday 5 September 2013

From K - Dressing it Up!

In less than two weeks I'll be jetting down to Salt Lake City for my first even sewing/blogging conference. Although my to-sew list is beyond overwhelming right now, I decided that making a few new garments are an absolute necessity. I don't generally need an excuse to make new clothes, but it seems absolutely fitting to wear handmade in a venue full of people who will not only notice but will also really care!


Last week I picked up a Liberty of London Lifestyles print that I've swooned over for months (10% at my local quilt shop) and have decided to make it into another Staple Dress (see my first Staple here). Then just yesterday I scored some amazing chambray-esque purple fabric from Fabricland for $7.50/m! Beyond amazing deal right?! The drape of this fabric is so soft and beautiful, I can't wait to try out another of April Rhodes designs, the Date Night Dress.

If these dresses turn out half as stunning as I anticipate, I may have to stock up on more fabric (that Fabricland score comes in about 15 different colours, all on sale - Canadian friends, hit up your local FL before I clear out all of the inventory!). I'm beyond obsessive right now with April's designs. I'm positive these will be the perfect last minute suitcase additions and I can't wait to wear them around.

To keep myself on track, I'm linking up to the September: A Lovely Year of Finishes over at Fiber of All Sorts. Come join in on the fun, the goal setting link is open until midnight on September 7 so there is plenty of time to participate.

Tuesday 3 September 2013

From A - Making Special

While on the road, the Mr. and I celebrated our cotton (second) anniversary.

Anniversary

Since you only get one cotton anniversary in a marriage, I couldn't pass up the opportunity to make him something special. After mulling it over for a couple of months, I had settled on an embroidery project. I bought the necessary supplies and proceeded to ignore the coming event.

Liberty Tie

For once my tendency to ignore deadlines paid off because this post from the Colette Patterns blog popped up on my feed reader and promptly kicked my sweet little embroidery project's metaphorical butt right out of the picture.

Liberty Tie

Within about 30 minutes of reading the post, I had the whole thing planned out in my mind. I would hunt down some Caesar tana lawn from Liberty of London for the exterior, line it with scraps from my Liberty Wiksten tank, and add a little "handmade" sewing label I picked up when we were in London together shortly after getting married.

Perfect Point

And the result: the kind of perfect imperfection that defines our marriage.

Tie Lining 

There were some challenges getting everything to line up well enough to make a tie point that would be acceptable for public wear. Fortunately, it was nothing that a bit of strong arming and a bunch of steam couldn't fix.

Label and Keep Detail

The hand sewn finishing touches on this one are really what made it special: slip stitching the center back seam, attaching the label and tie keep. The perfect way to inject it with a little bit of l-o-v-e.