Sunday, 5 October 2014

From K - Finished Grace Cardigan

18 months ago when Amanda was teaching me how to cast on to start my very first knitting project, I would never have imaged that I would be sharing a finished sweater less than two years later. Today that's exactly what I'm doing!

This is my new favourite cardigan, and not just because of the cashmere blend yarn (though of course that doesn't hurt!).

Front details:

The lace work was a bit tricky at first (surprisingly more challenging than one would suspect) but after looking at Ravelry a bit, it didn't take long to see where most folks go wrong. Some rows end in a YO and it's easy to forget if you are busy watching tv or otherwise not laying close attention. Jane has provided charts in an updated release of this pattern so I'm sure if I make it a second time I won't run into any issues.

Back details:

Part of what drew me to this pattern was the lace work in the back. I tend to wear a lot of cardigans at work since Canada tends to be a bit nippy. The lace work seemed like the perfect touch of softness to a cardigan that will get a lot of wear with dresses.


Final Knit Details:
  • Pattern: Grace by Jane Richmond
  • Finished Size: 34-36 (custom body sizing)
  • Yarn: Zen Yarn Garden Serenity 20 in the colourway Grape Stone
  • Buttons: 12mm metal buttons from Fabricland
I was so excited about finishing this sweater that I cast a new sweater on the same evening I finished sewing the buttons on this one. Sundottir is next up, anyone have tips to share on fair isle colour work?


To read more details on the making of this sweater, visit my Ravelry page found here.

Friday, 3 October 2014

From K - Finished Constellations Camping Quilt

Last month I shared an update on the retro camper that my hubs and I were busy working on over the summer. While he was labouring over custom woodworking, plumbing and electrical work... I prioritized the important glamping details... a camping quilt of course!

I had been slowly collecting prints from Lizzy House's Constellations line for months and when we purchased our Travelux Pearl, I knew instantly that this line was perfect for a camping quilt.

To round out my Constellations collection, I added various bits of other Lizzy House fabrics including some Jewels and Pearl Bracelets.

After trying out a few shades of pearl bracelets for the background, I landed on a dark gray with metalic shimmer to add some dreamy moodiness to the quilt.

This quilt turned out to be larger than I had anticipated, so I had to get a bit creative on the backing as a result. To compliment the front, I used a small scrap from each print to replicate the purple-to-white gradient shown on the quilt top.

I tried a new-to-me FMQ design on this quilt since stars just seemed like an obvious choice. I love the crinkly texture that appears between the stars, and hope that with time it will continue to emphasize their shapes.


Final Quilt Details:

  • Quilt Name: Constellations Camping Quilt
  • Finished Size: Somewhere between double and queen (75" x 90")
  • Fabric: this entire quilt is exclusively Lizzy House fabric, largely composed of prints from her Constellations and Pearl Bracelets fabric lines.
  • Pattern: designed by Kelsey using TouchDraw
  • Quilting: chains of stars by Kelsey


You can read more about the making of this quilt here, here and here.

Sunday, 28 September 2014

From K - Finished Directions Quilt

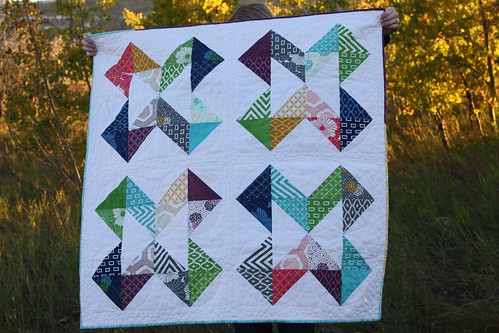
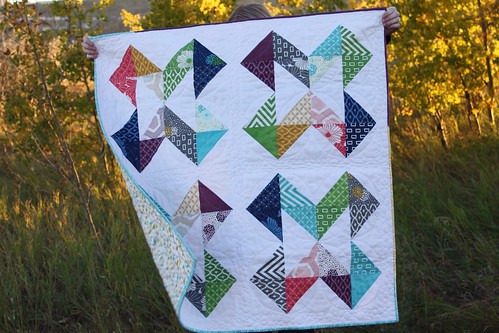
I recently decided it was high time I started to finish up some of the UFOs that have been slowly piling up in my craft room. My Directions Baby Quilt top seemed like the perfect opportunity to practice some FMQ so I whipped up a back and began stitching.

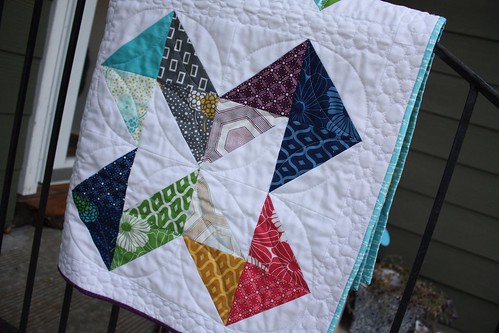
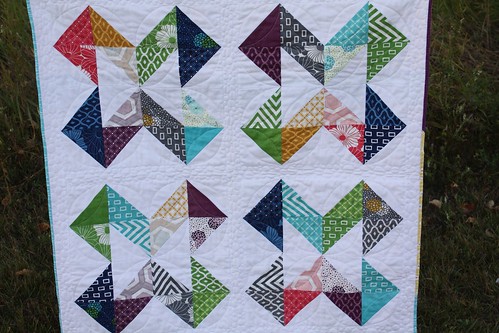
After a few minutes of deliberation, I started by stitching an orange peel design on the half square triangles to give the quilt some motion, and then later added pebbles along the sashing just for fun.
I used 100% of the materials for this quilt from my stash, and it was a fun challenge.
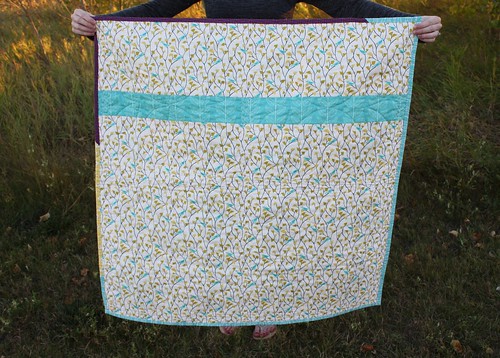
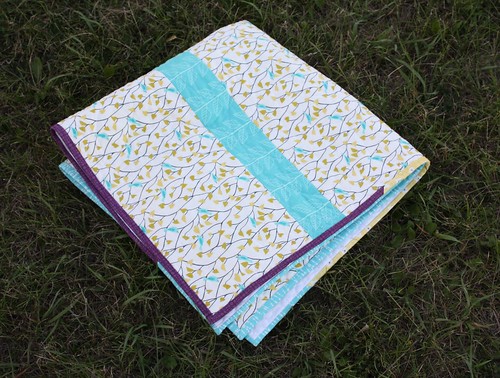
For the quilt back I pieced a few gender neutral prints together.
When choosing binding, I didn't have enough of any one print to work, so I added three prints that complimented the backing.

This project reminded me how fast and fun making baby quilts are.
I think I need to make a habit of making these types of stash busting, no rules, baby quilts in the future.