Tuesday, 17 December 2013

From A - Simple Satchel

Finally recovered from a few harrowing weeks of exams and the flu, it is time to show you a recent finish before I throw myself back into Christmas gift sewing.

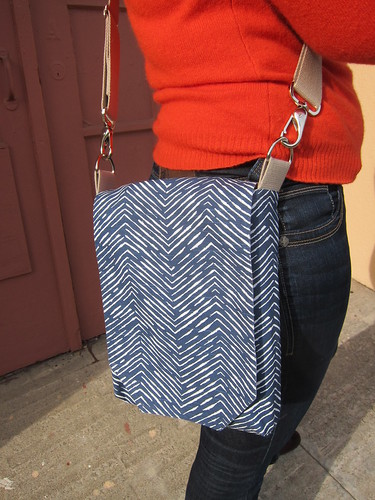
Just over a week ago, in a flurry of exam stress, I dug out a project that I cut out back in August for a quick study break. A couple of relaxing hours later, I had a finished bag made using Guy Latulippe's killer Simple Satchel pattern in the small size. I really love Guy's patterns. This is my second (my duffle being the first). They are simple to make but you're left with a finished product that could easily be passed off as something you bought in a chic boutique.
Simple Satchel 

I used a gorgeous navy herringbone print that I bought when Kelsey and I were in Seattle together for the bag exterior. It's home dec weight which makes it perfect for a nice and sturdy satchel. Some of the leftover Indian Summer fabric from my Eucalypt tank was a perfect match for the lining.

Simple Satchel

I ended up adding some lightweight interfacing to the bag to give it a little more structure but otherwise, followed the pattern exactly. The pattern was great and although my sleep deprived quilter's brain couldn't process the three dimensional bag instructions when I first read through them, they were crystal clear when I actually started sewing.
Simple Satchel

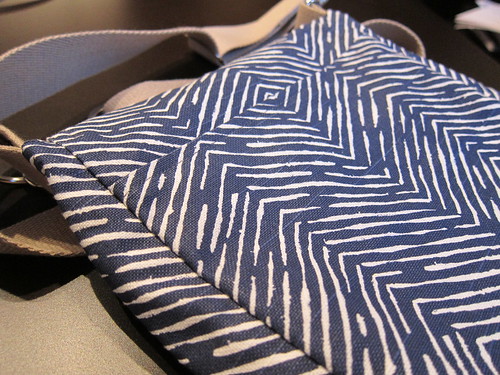
I am beyond tickled at how well the exterior print lined up across the seams. I made a half-hearted attempt to fussy cut as I was going along but this level of accuracy is the product of sheer luck.
Simple Satchel 

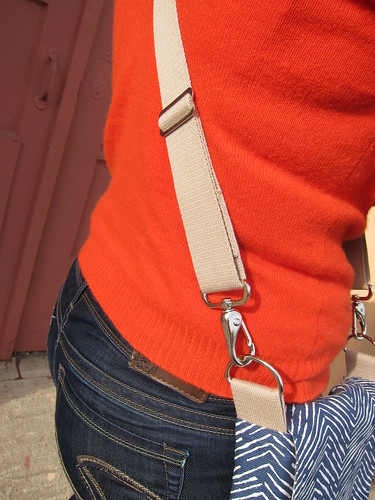
This bag is a perfect size, it will comfortably hold an iPad or a book, a wallet, keys and some lip balm. The ADJUSTABLE cross body strap makes it the ideal thing to use when I'm running errands on my bike. This was my first time using bag hardware and it really adds a nice touch. I bought mine from a wholesaler called UMX after I couldn't find anything big enough locally. I bought enough hardware for three bags when I ordered so you can bet that there will be more of these in my future.

Friday, 6 December 2013

From K - Finished Manly Plus Quilt

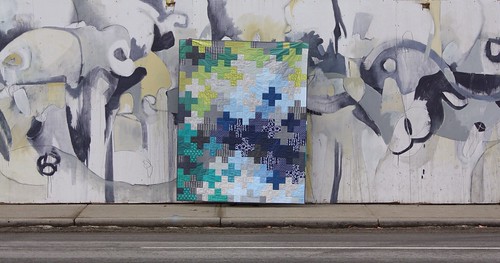
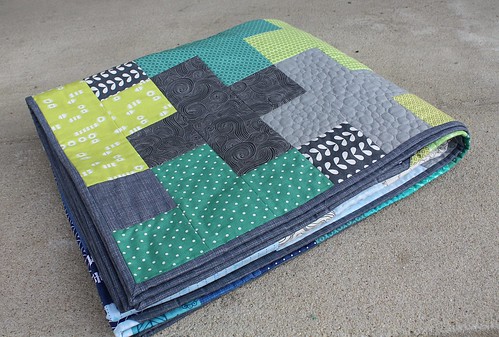
Have you ever had a quilt transpire in your mind with such a presence that you just couldn't shake it until it became a reality? That's what this quilt was to me. I tiny compliment from my husband on my Pink Pluses Quilt was all I needed to dream up this manly plus version for him to keep.
 
Manly Plus Quilt
For someone who is extremely supportive of my 'more often than not' all consuming hobby, I have yet to thank him with a quilt of his own. He has never nagged for one but I know he feels a bit slighted every time I show him a finished quilt and he says "wow! That one's great, do we get to keep it?!"... and then the answer is always "no".... *insert wife hanging her head in shame here*
 
I know what you're thinking - just give the man a quilt already Kelsey! And so I will.
 
Manly Plus Quilt
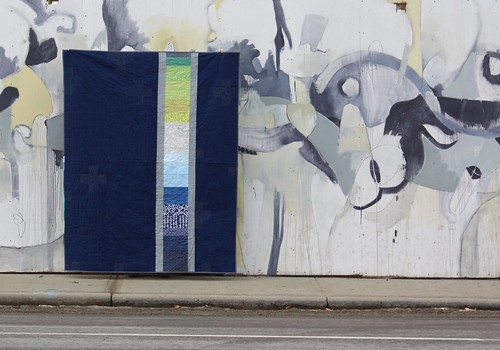
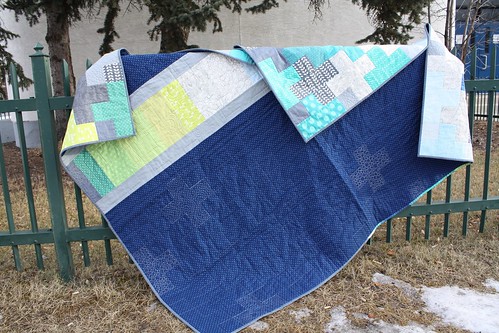
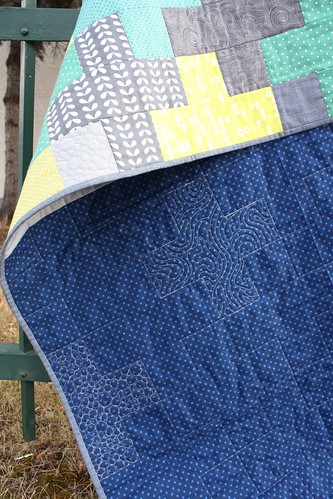
I wanted the backing to be timeless, simply, and obviously a bit manly. Using fabrics from the quilt top, I laid out varying widths of remnants in a strip to play up the gradient from the front.

 
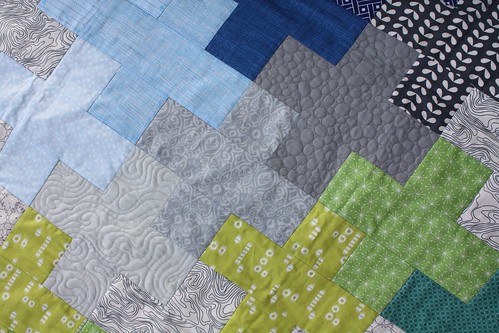
I didn't want this quilt to be stiff, so I went with a combination of straight line quilting around each plus shape and then added some dense FMQ in a few feature pluses.
 
Manly Plus Quilt
Most of the prints in this top are patterned which adds a fair amount of texture. Two solid fabrics however stuck out, so I decided they needed a bit more attention.
 
The dark gray solid pluses received pebbling while the light gray pluses received a somewhat topographic design. I love that these designs are both inspired by natural elements and that they compliment the Architexture prints in the top.

Manly Plus Quilt
I also absolutely adore the texture that the randomly quilted pluses add to the quilt back. Happy surprises are the best surprises after all.
 
Final Quilt Details:

  • Quilt Name: Manly Plus Quilt
  • Finished Size: large lap sized (54" x 75")
  • Fabric: various prints from my stash
  • Pattern: I didn't follow a pattern. I just laid out rows using one 3.5"x9.5" and two 3.5" squares for each plus.
  • Quilting: quilted on my Janome 8200. Straight line quilting to outline each plus block, supplemented by FMQ pebbling and topographic lines in feature pluses.
 
I started quilting more than three years ago and I have never snuggled with a quilt that I've made, I don't even own a quilt myself (shameful I know). I'm feeling a bit selfish that I can't wait to gift this - not only because I can't wait to see his face, but also because it will undoubtedly be followed with a good ol' fashion couch snuggle fest. Pass the popcorn please!
 
Read more about this quilt top here. This is my third completed project for the Q4 2013 Finish A-Long - read more about my other goals here.
 
 Linking up to Needle and Thread Thursday and Finish it up Friday.


Sunday, 1 December 2013

From K - Snowfling Mitts

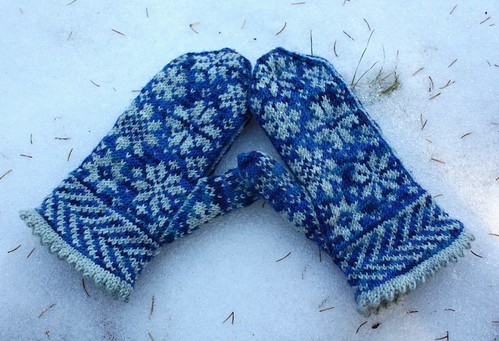
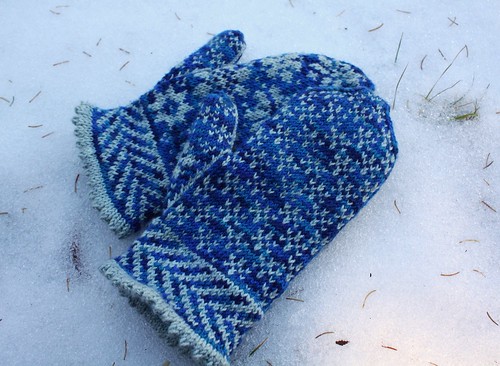
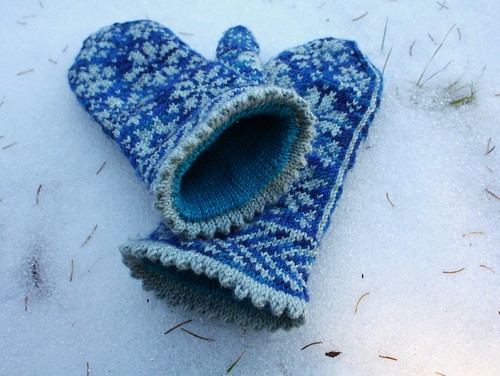
Two months ago, when autumn was quickly fading into winter, I cast on a pair of mitts for the very first time (first successful time that is). The combination of a long roadtrip, a work trip, and a few furious knit nights, made for some seriously speeding knitting, and after two weeks I had my very own pair of Tanis Fiber Arts Snowfling Mitts.

Kelsey's Mits

To be honest I have been dying to make mittens to a long time but flashbacks of the Christmas mitten fiasco of 2002 kept flashing in my head, and I didn't think I could stomach the idea of another pair of mitts being stashed away, thumbless and forever to be unloved. **For reference - Amanda was convinced she would teach me to knit more than a decade ago and I had a paralyzingly fear of knitting thumbs (a fear that I only now just concurred).


Kelsey's Mits

This was my first real foray into colour work and I was surprised by how easy it. To be fair though my ability to pick it up quickly might have been helped tremendously by the pure fact that I cast these babies on after Thanksgiving supper with Amanda in close range.


Kelsey's Mits

These beauties have a cashmere lining that add the perfect touch of added warmth and luxury. I can officially say I'm hooked and another kit is in the mail. The more mitts the merrier!