Showing posts with label 12 in 12. Show all posts

Friday, 21 November 2014

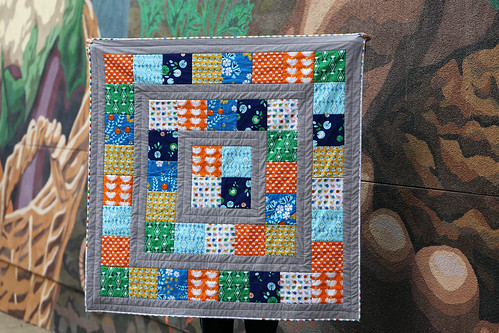
From A - Frog Pond Quilt

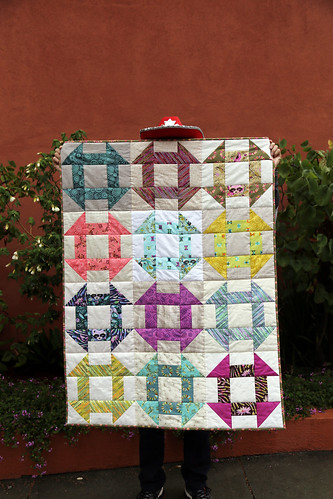
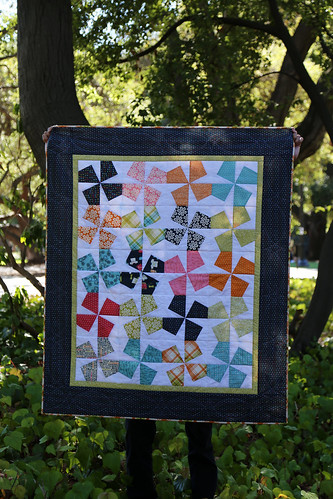
This quilt started as part of my September square cutting marathon. After more than 5 weeks away from my sewing machine, I was desperate to start a few new projects and tried to pick some simple ones in the hopes that they wouldn't become long-term WIPs. This strategy was obviously a good one since a little more than 2 months later, I'm proud to say that this little baby quilt is done and off to its new home.

Storytime Squares Quilt

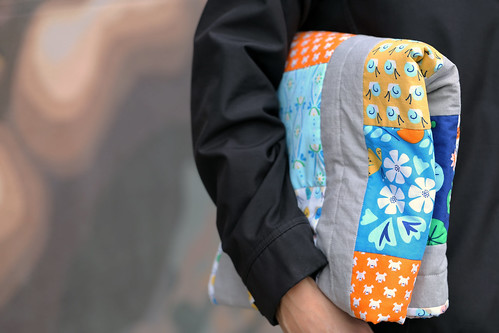
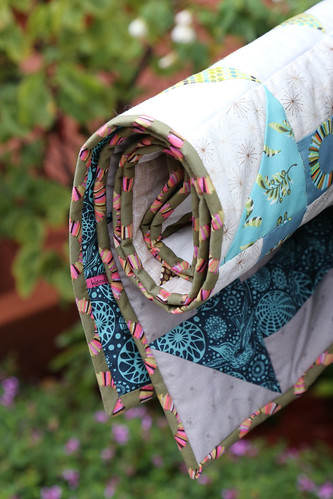
The pattern was really simple and quick to put together. In about a week of leisurely sewing, I had a completed top. I didn't do anything too fancy with the quilting, opting to stick with stitch-in-the-ditch and adding another quilting line in the middle of each round of sashing to highlight the patchwork squares.

Storytime Sqaures Quilt

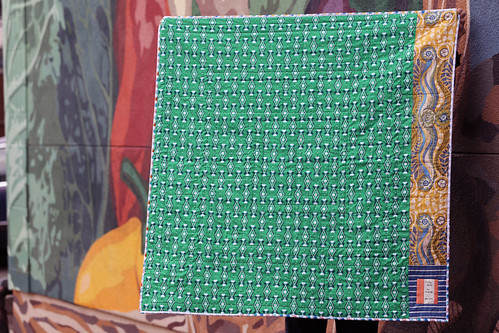
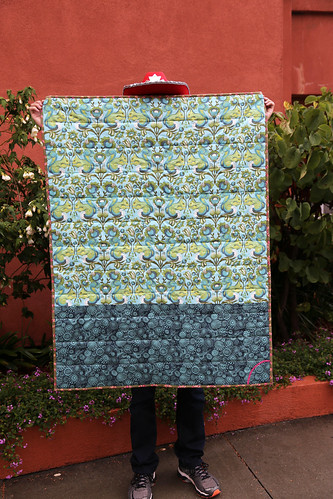
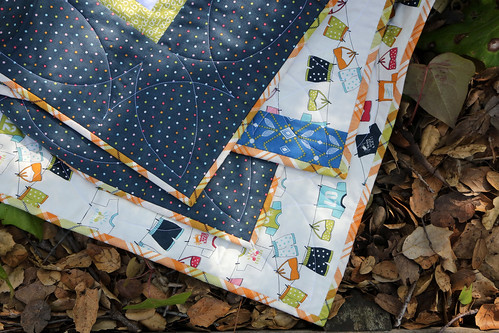
I backed it using some Lotus Pond yardage I had originally picked up to make a crib sheet and used a AMH voile scrap to make it wide enough. The effect is simple but it adds a bit of interest to an otherwise plain backing. I also like that it adds some extra softness to the quilt. A little gaffer wrapped in this quilt might find a bit of comfort holding this soft strip voile up to his cheek.

Storytime Squares Quilt

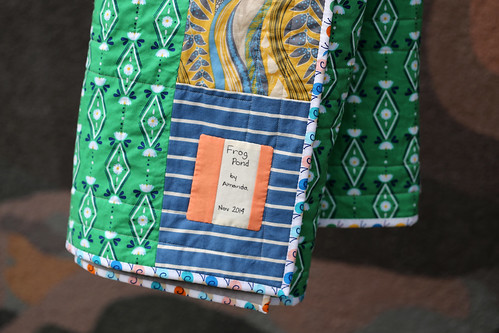
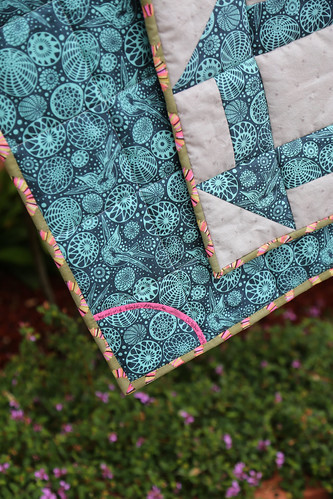
The label is a leftover bit from the Red Letter Day quilt we made for my cousin's wedding in July. It's not a perfect match but I like how it echos the coraly pink in the binding.

Finished Quilt Stats:
  • Quilt Name: Frog Pond
  • Finished Size: Crib (45" x 45")
  • Quilting: More Stitch-in-the-Ditch

Storytime Squares Quilt

Linking up to Finish it up Friday over at Crazy Mom Quilts.

Friday, 31 October 2014

From A - Finished Baby Love Quilt

Back in June, I was busy studying for a big exam and had almost no free time to sew or really do anything enjoyable. After a couple of weeks, I started going a little stir crazy and decided that I would let myself work on a baby quilt for a friend.

I spent an afternoon picking a fairly straightforward pattern and laying out a couple of charm packs and some scraps from my "light neutral" drawer. From then on, I let myself make one block per day until I had a finished quilt top.

Baby Love Quilt

Trying to avoid adding yet another WIP to the pile, I whipped up the world's simplest backing from stash and basted it in early September. I spent a few weeks trying to figure out howto quilt it before finally opting to stick with boring old Stitch-in-the-Ditch.

Baby Love Quilt

Although it's not too exciting I think the quilting actually highlights the blocks quite nicely. The quilting and scrappy low volume background prints minimize the secondary square-diamond-square pattern between the the blocks that I was trying to avoid. The Dream Wool batting I used gave this quilt just the right amount of puff.

Baby Love Quilt

I used a remnant strip of pink voile to make a bias tape label and bound it with another print of Acacia yardage that I was hording.

Baby Love Quilt

I think my favourite part of this quilt is the fact that the squirrel print on the back is perfectly centered and symmetrical on the back of the quilt. Definitely not planned but a welcome surprise after I trimmed up the quilt top.

Finished Quilt Stats:

  • Quilt Name: Woodland Walk
  • Finished Size: Crib (36" x 48")
  • Fabric: Two Tula Pink Acacia charm packs and various low volume scraps.
  • Pattern: Baby Love by Camille Roskelley in her book Simply Retro (with an extra row of blocks since I'm not a fan of square quilts).
  • Quilting: Ol' Faithful Stitch-in-the-Ditch

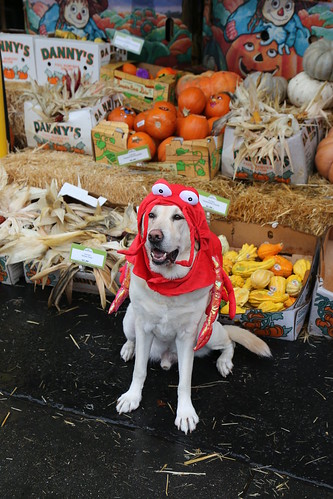
Our lobster-dog wishes you a safe and happy Halloween!

Halloween Lobster Dog

Linking up to Finish it up Friday over at Crazy Mom Quilts.

Friday, 19 September 2014

From A - Finished Carnival Quilt

More than two years after it began, I can finally say that this quilt is finished. Most of that time was spent debating how I wanted to quilt this one. In the end, I kept things pretty simple by stitching in the ditch around each block and the first border before adding a simple but sort of fancy border that I can only describe as marquis.


Finished Carnival Quilt

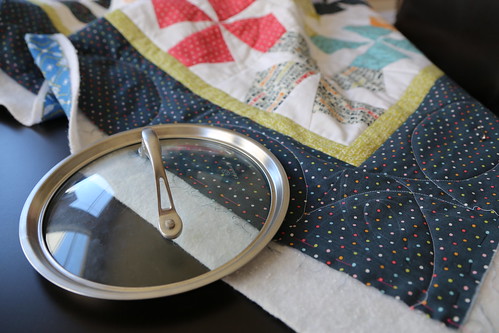
I marked the border by tracing around a kitchen pot lid that happened to be the right size with my trusty blue chaco liner. It actually worked out pretty great and created beautiful smooth curved lines that I would never have been able to manage freehand.


Canival Quilt

I am especially pleased with how the border quilting worked out in the corners, creating smooth pointy bits that didn't interrupt the flow in the border.


Finished Carnival Quilt

Although I was 
originally planning something a little fancier for the main panel in the quilt, I'm glad I kept it simple. I think that the simple quilting creates a sense of calm that works perfectly with the overall feel of this quilt.

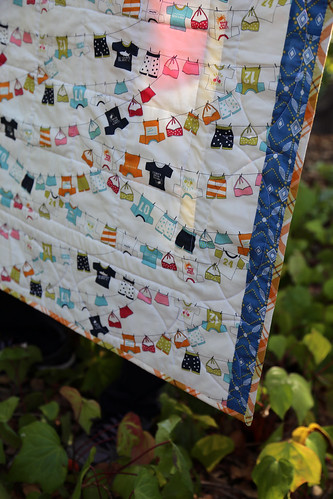
I backed the quilt using one of the clothesline prints from the same collection that I absolutely love. It was a little too narrow to get the job done so I added a leftover strip of AMH voile. It is so soft. Definitely adding "back a quilt in voile" to the ol' quilty bucket list at some point.


Finished Carnival Quilt


I of course bound in orange plaid since I am powerless in the face of plaid. A pretty big part of me wishes I could bind every quilt in plaid but until someone releases a collection of plaid fabric in every colour, I'm going to have to restrain myself.

Final Quilt Details:

  • Quilt Name: Carnival Quilt
  • Finished Size: Lap size (a.k.a. 43" x 51")
  • Fabric: Various prints from Lucy's Crab Shack by Sweetwater and some Kona White
  • Pattern: Carnival Quilt by Jaybird Quilts
  • Quilting: Stitch in the ditch with fancy border 

Bdog

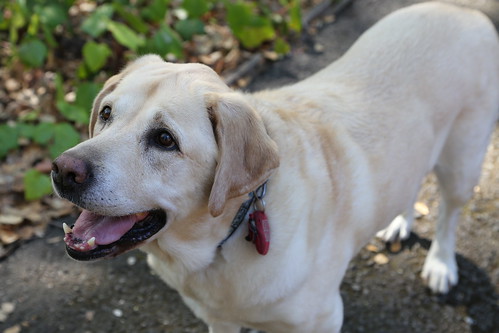
My art director came along for the photo shoot and seemed pretty pleased with how this one turned out. And with that, another baby quilt bites the metaphorical dust. Only 80-billion more to go!

Happy weekend friends. Hope it's a good one!

Wednesday, 16 July 2014

From A - Plantain T-Shirt

This year I set two challenges for myself. The first was to track how much fabric I used in a year and the second was to finish 12 quilts and 12 pieces of clothing over the course of the year. Although things started on the right foot, I quickly fell behind as things started to get crazy in March.

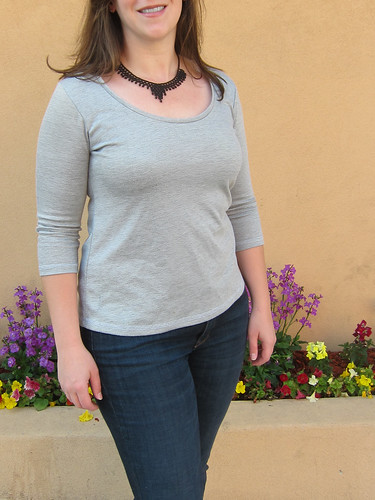
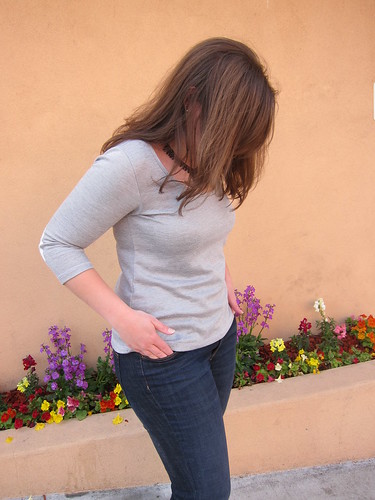
To date, I've finished three quilts and two pieces of clothing. The second is the Plantain T-Shirt, a free pattern offered by Deer and Doe, opting for the 3/4 sleeve.

Plantain Tee

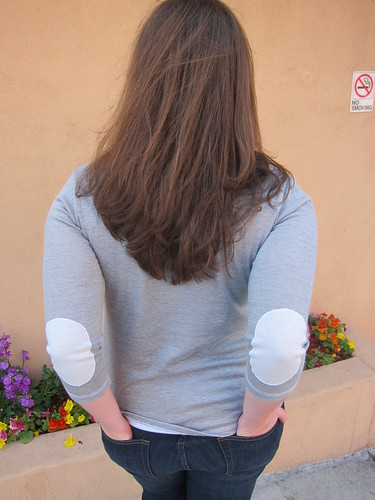
I used a shimmer pinstripe jersey knit. It's a two-sided fabric which means that it is a reversible mid-weight. I ended up using the sparkly side of the fabric for the elbow patches. I ended up just sewing them on with a ball-point needle and a small, tight zigzag stitch to finish the edges.

Plantain Tee

As always with knits, this top was fast, easy and satisfying. The fit turned out all right considering the lack of modifications to the pattern and my general disregard for anything resembling accurate body measurements or a muslin.

I've gotten quite a lot of wear out of this top since finishing it in February. I can see myself making a few more of these tops for next winter.

Plantain Tee

Here's hoping I can get caught up on my 12 in 12 goals over the next few months. I started quilting a baby quilt last week and cut out some fabric for a new dress. More on those soon!

Friday, 6 June 2014

From A - Finished Contraflow Quilt

In January, as many of us do, I grabbed the brightest and happiest stack of fabric I could find in my stash and started cutting my Contraflow Quilt. After five months and an epic Doctor Who binding marathon, I can finally say that this quilt is finished! 

Contraflow Quilt

This quilt was amazingly quick to piece together given its size. The strip piecing combined with the lack of seams to line up, also meant that there was nary a precision moment to be found while making this one. Perfect!

Although I loved the Terrain prints when they were grouped together in the layer cake, I started having second thoughts when I mixed them up into a more random layout. Eventually, I opted to group similar coloured prints together and shift them across the quilt top. I really love the result. I think that the shifts in colour add a nice movement to the finished quilt.

Contraflow Quilt 
In a past slip of the credit card, I somehow found myself with 5 yards of Sarah Watson's Extravagarden Bold. Aside from the charm of the flower stem lizards in this print, I have no explanation for what possibly might have moved me to buy such an insane amount of this fabric. Luckily, it made the perfect backing for this project. It provides a nice and dare I say, almost grown up contrast to the brightness of the front that really helps pull things together.

Contraflow Quilt 
I was a weensy bit short on backing fabric so I added a strip of yellow from Kate's Central Park line and used this strip to anchor my label.

Unable to face the prospect of basting an almost Queen-sized quilt on my bathroom floor, I opted to send this out to get the royal long-arm treatment from Lindsay. I chose a floral design for the quilting that I think really complements the other fabrics in the quilt without overpowering them.

Contraflow Quilt

I used my very favourite Dream Wool batting for this quilt. I can't say enough about how perfect it is. In addition to being much lighter than cotton, it is warmer, springier, and the wool's natural springiness prevents those crushed fold marks that I hate so much.

Contraflow Quilt

I chose to bind it in an old Tula Pink Parisville print that also came from the stash. It is interesting but doesn't compete with what's happening on the front of the quilt.

Contraflow Quilt

It tickles me beyond all measure that every single bit of fabric used to make this quilt came from the stash. Don't you love when that happens?

Final Quilt Details:

Monday, 21 April 2014

From A - Red Carpet Lady Skater Dress

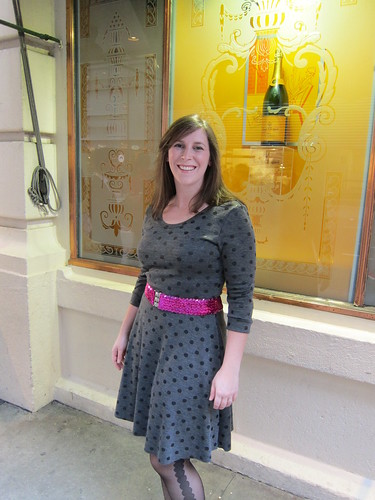
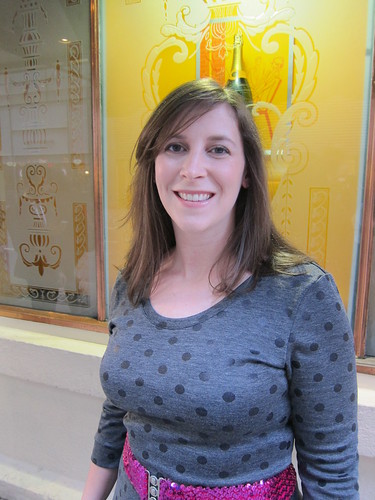
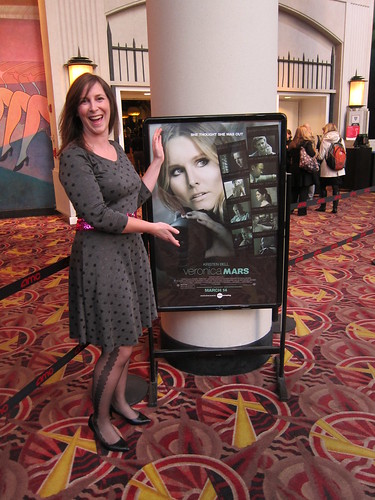
In early March, or what feels like a lifetime ago, I was lucky enough to get a ticket to the Veronica Mars Movie premier and after party in New York. Not one to have already have a dress for such occasions, I decided to try making my own (partly because I am cheap and definitely because I hate shopping).

I wanted something that would be dressy enough for the premiere but casual enough that I might actually wear it again. Kitschy Coo's Lady Skater Dress in some black polka-dot knit fit the bill perfectly.

Lady Skater Dress

I dressed it up with a sequin belt that my grandmother bought me when I was about 8 years old and some fancy nylons I picked-up in the big apple. I even wore make-up. Overall, a passable red carpet outfit for about $35.

Lady Skater Dress

I literally got up at 4:00 in the morning to finish sewing the dress together before my 6:00 a.m. flight (which meant no muslin on this one). The fit is is a little looser than I would have liked but otherwise fantastic considering my recklessness.

Due to the last minute construction, I didn't have time to hem the dress before getting on the plane. Luckily this wasn't a problem with the knit fabric. The Mr. was relieved that we weren't going to miss our flight when I decided to skip it and very happy that the coverstitch machine wouldn't be joining us in NYC. I'm hoping to give my lady skater a nip/tuck plus hem treatment soon.

Lady Skater Dress

This pattern was quick and easy. The finished dress is lovely, comfortable and has now been fondled by the V-Mars cast, which makes it a definite winner. There are definitely more of these in my future (likely a peplum tee version in the next size down).

(And yes, the premiere was awesome...I even met Ira Glass. He is the coolest.)

Friday, 14 February 2014

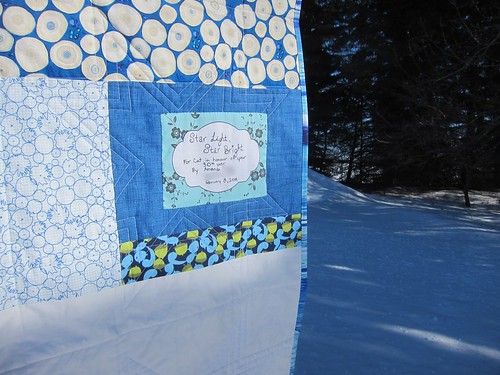
From A - Star Light, Star Bright

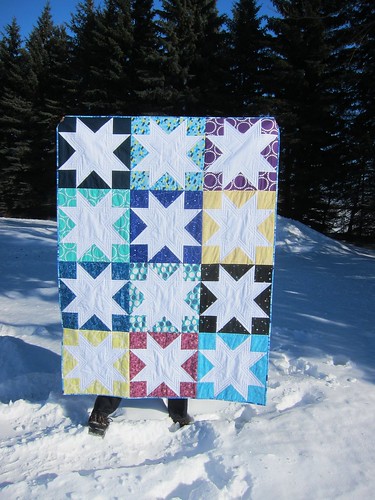
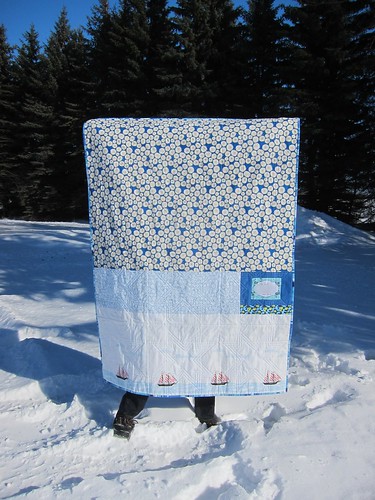
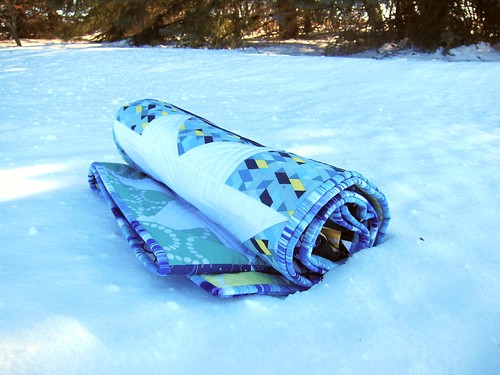
After many many months of avoidance, my White Star Quilt is finally wrapped up and in the hands of its intended recipient.


White Star Quilt 

Although the top was pretty speedy to put together, it took me three tries to get this quilt basted. Since basting is one on my least favourite things, it was more than a few months between attempts which delayed the process of finishing this up.


White Star Quilt

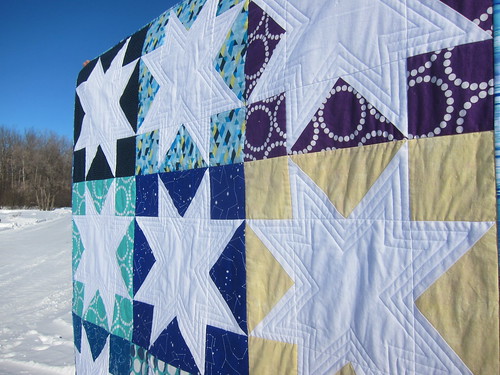
I'm really happy with how it turned out. It's a great size for a couch quilt and it definitely captures the essence of the nights I spent last year sitting on a beach in Panama looking at the stars with one of my very best childhood friends. This is a quilt where every fabric was chosen for a reason and has a meaning. I really love when that happens.


White Star Quilt

I started off by quilting in the ditch. After realizing that that didn't give the quilt enough pizzazz, I decided to do three "rounds" of echo quilting inside each star. It really made the quilt come to life.


White Star Quilt

Final Quilt Details:

  • Quilt Name: Star Light, Star Bright
  • Finished Size: Lap Sized (approximately 48" x 64")
  • Fabric: Lizzy House Constellations, Pearl Bracelet, Outfoxed, Grunge by Basic Grey. Backing fabric is Architextures by Caroline Freidlander, Martha Negley tree Rings and Sail Away by Sarah Jane and others.
  • Quilting: Stitch in the Ditch and Echo Quilting for Stars done be me.

White Star Quilt

You may have wondered how this California girl managed to get quilt photos in an snowbank. If you follow us on Instagram, you may have seen that Kelsey and I were back in Manitoba last weekend for a family event. It was wonderful and way too fast but we sure froze out butts off in the -32 degree weather (that's -25 Fahrenheit). I'm really glad to be home!!

Linking up to Finish It Up Friday!

Friday, 24 January 2014

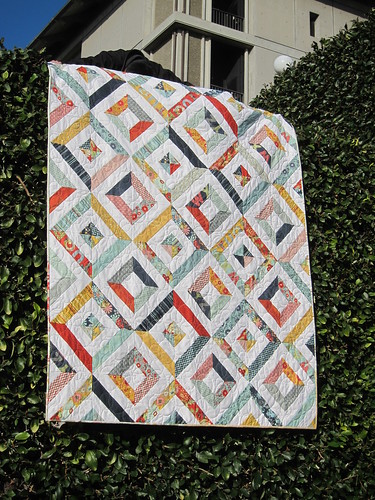
From A - Darling Quilt Done

One day In early November I was digging through my stash and found a PB & J jelly roll that had been given to me by one of the Mr.'s co-workers while trying to clear out some inventory. I took it knowing that it wasn't really my usual colour scheme but figured that I would find a use for it eventually. When I stumbled across it again in my stash, I knew that I had to turn it into a couch quilt for my Aunt.

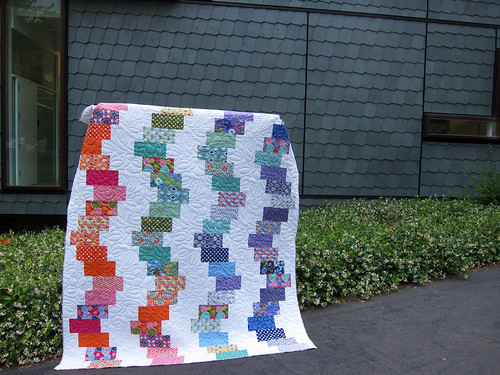
Darling Quilt

After poking around the Internet looking for pattern ideas, I found the Summer in the Park tutorial by Missouri Quilt Co. It had been on my list for a while so I decided to give it a whirl.

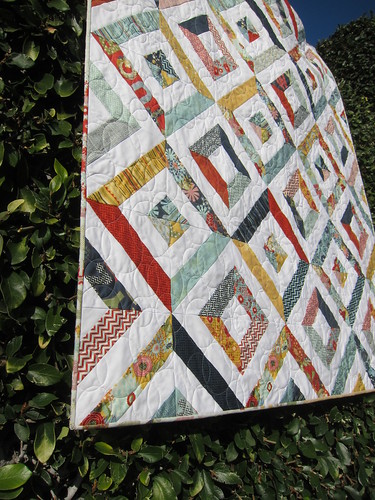
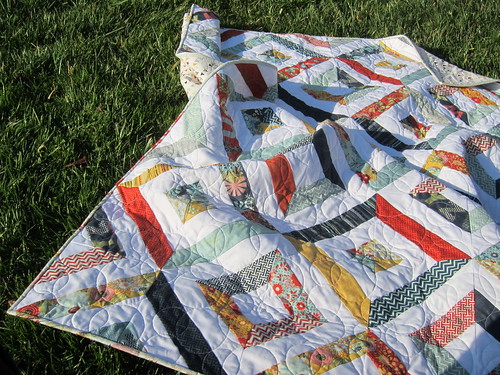
In addition to being super fast to make, these blocks are fun! I really love the secondary diamond pattern that appears when you put the blocks together. That said, these blocks are also very versatile and could be used to make chevrons, large diamonds or lots of other shapes. I might even make another one of these at some point to try one of those out too.


Darling Quilt

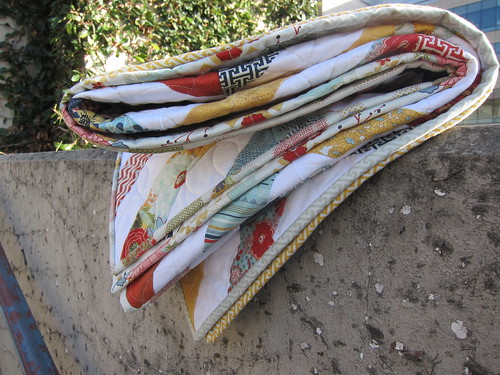
Perhaps my favourite thing about this quilt is that I was able to use every single leftover jelly roll strip for a scrappy low-volume binding, using prints that wouldn't have worked in the body of the quilt but make for a gorgeous binding.


Darling Quilt

I backed it in an old Basic Grey bunting fabric I had kicking around the stash that matched perfectly and made a red bordered label so that it wouldn't get lost in the print.


Darling Quilt

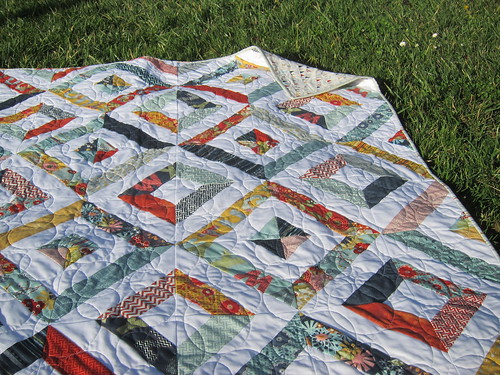
This is the second quilt I've sent to Lindsay to have quilted and I am once again, thrilled with the results. I like that the bubble pattern keeps things geometric and adds interest to the quilt without overwhelming the diamond shapes. 


Darling Quilt

Final Quilt Details:
  • Quilt Name: Darling
  • Finished Size: lap sized 54" x 70" (56" x 72" before washing)
  • Fabric: PB & J by Basic Grey jelly roll and Kona White jelly roll.
  • Pattern: Summer in the Park by Missouri Quilt Co.
  • Quilting: Bubbles pattern by Lindsay of Eileen Quilts

This quilt is so cozy. I'll admit that the hours I spent sewing down the binding were so enjoyable sitting under this quilt. A trip through the wash made it even softer. I can't wait to see what my aunt thinks.


Darling Quilt

Linking up to Finish it up Friday at Crazy Mom Quilts.