Showing posts with label quilting. Show all posts

Friday, 24 October 2014

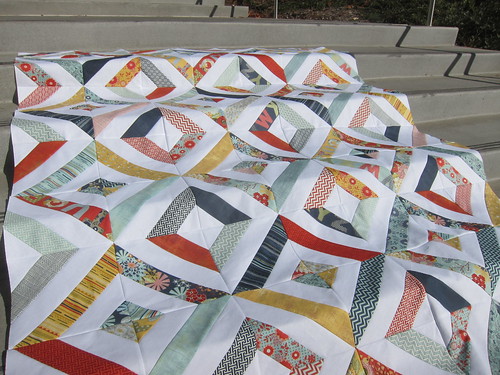
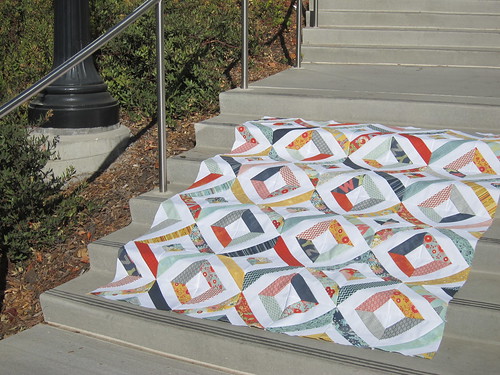
From K - Modern Maples Quilt Top

Fall is hands down my very favourite time of the year. Honestly what's not to love? Fresh crisp air, warm spicy drinks, a house that smells of baking, boots, outfits with lots of layers, and of course, fall leaves! There is no other time of year that I feel as happy, or surprisingly as domestic, as I do in the fall. As a quilter, there is no better way to celebrate this season than making a special quilt inspired by it.
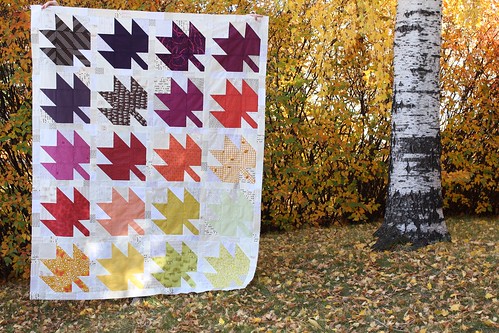
Back in September while pulling fabric from my stash for a baby quilt, I accidentally pulled a rather sizeable stack in a perfect fall palette, quickly side-tracking my mind away from baby gifts and towards selfish fall sewing. Amanda WoodWard-Jennings' quilt pattern Modern Maples immediately came to mind, and seemed like the perfect solution to all my fall inspired quilty desires.
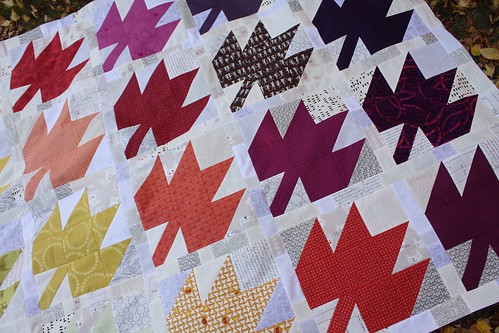
I have been on the road for work on and off since Labour Day, so most of the cutting and sewing of this quilt top happened in various hotel rooms across southern Alberta. If you're ever looking for a great portable pattern, this is it!
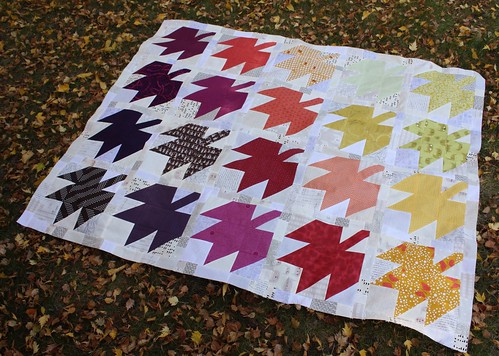
I was inspired by so many beautiful variations of this quilt design that I found online. I knew when it came to the leaf blocks, I felt like more was better, and though I'm not typically one for sashing, I couldn't resist tossing in more low volume neutral prints to mix things up.
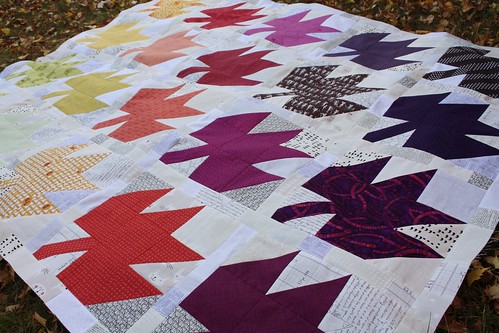
I have been severely tied up with work this past month so I unfortunately missed by dream deadline of finishing this by Halloween, but at any rate, I am thrilled that the top is now complete.
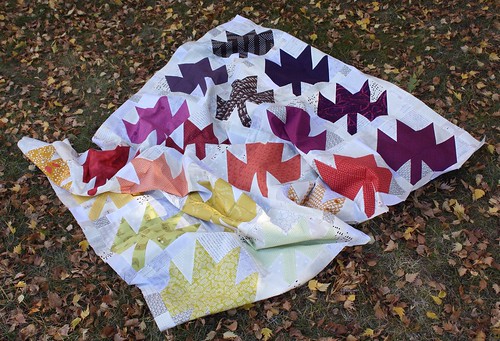
My new self imposed deadline for this quilt is to hopefully finish it before December rolls around. I can't wait to make the back so I can quilt it!

Sunday, 28 September 2014

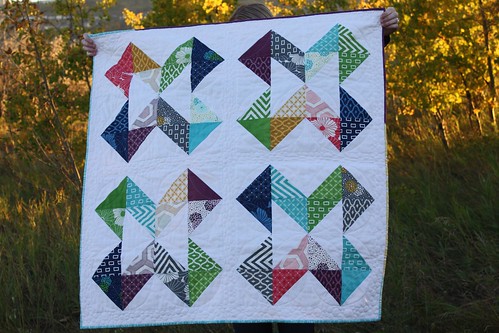
From K - Finished Directions Quilt

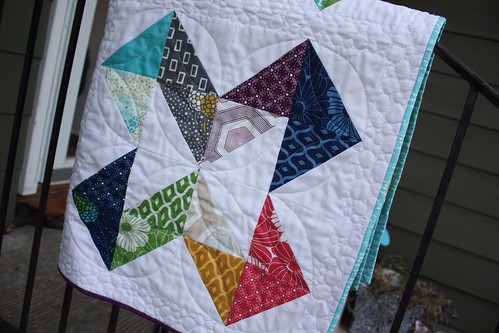
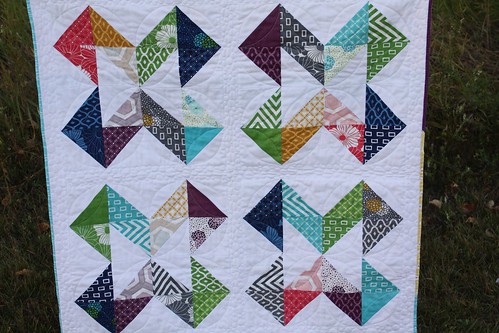
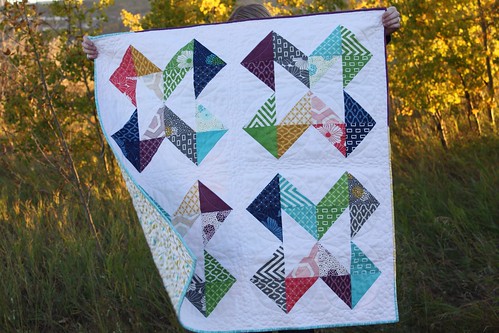
I recently decided it was high time I started to finish up some of the UFOs that have been slowly piling up in my craft room. My Directions Baby Quilt top seemed like the perfect opportunity to practice some FMQ so I whipped up a back and began stitching.

After a few minutes of deliberation, I started by stitching an orange peel design on the half square triangles to give the quilt some motion, and then later added pebbles along the sashing just for fun.
I used 100% of the materials for this quilt from my stash, and it was a fun challenge.
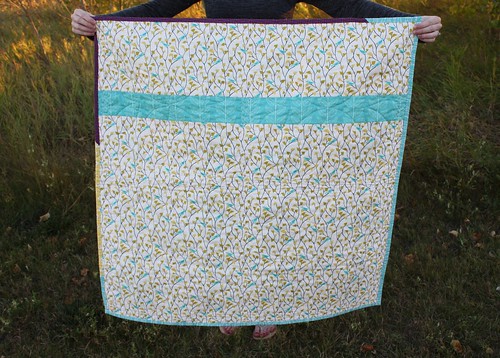
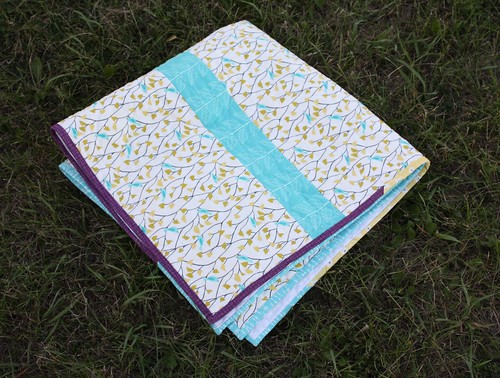
For the quilt back I pieced a few gender neutral prints together.
When choosing binding, I didn't have enough of any one print to work, so I added three prints that complimented the backing.

This project reminded me how fast and fun making baby quilts are.
I think I need to make a habit of making these types of stash busting, no rules, baby quilts in the future.


Friday, 28 February 2014

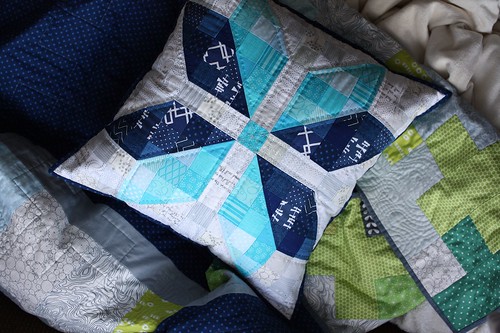
From K - Finished Snowflake Pillow

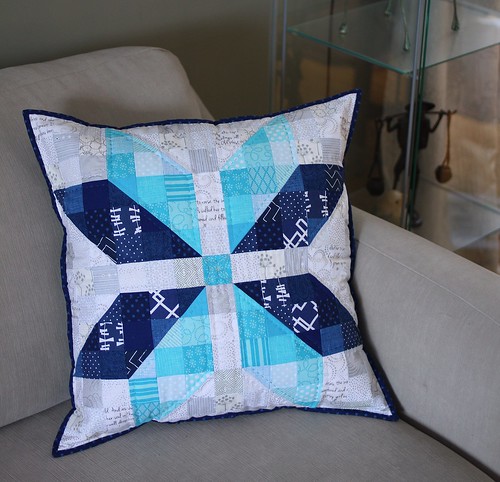
Let me introduce you to my new favourite couch accessory - the snowflake pillow!

After spotting Rachel's original, I practically begged her for a tutorial so I could credit her creativity. I started on my blue version a day later and it sat half finished for the past few months.
 
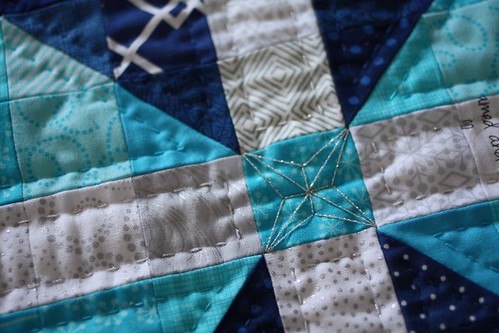
I debated machine quilting this pillow to finish it quickly, but kept going back to the idea of hand quilting it. In the end the hand quilting idea won, and I'm really glad I made the extra effort. I love the subtlety that the quilting adds while still giving texture.
 
I used a Cosmo glitter floss in silver to quilt the background and I think it added just the right amount of shimmer. I also added a mini snowflake detail in the centre square to pull it all together. One can never play with too much shimmery quilting floss!
 
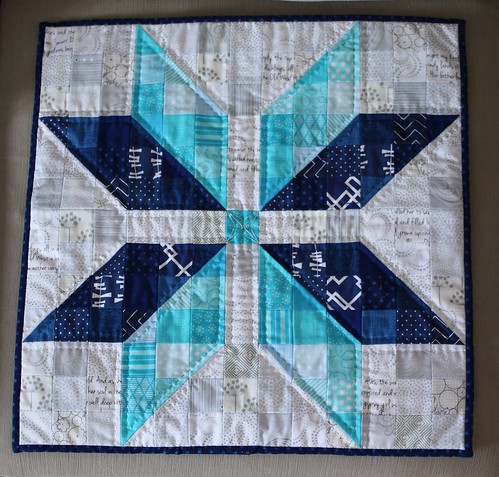
When pulling scraps for this quilt, I intentially looked for dark blue prints that were used in my hubby's Manly Plus Quilt. I love how they coordinate and coincidentally so does the Mr. Let's just say we might need a second pillow soon.
 
It's the end of a very long week and I'm ready to kick start my weekend curled up on the couch. See you on the flip side.

Linking up to Finish it Up Friday and Needle and Thread Thursday.

Wednesday, 1 January 2014

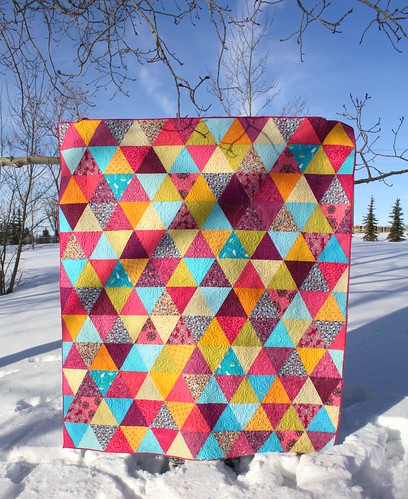
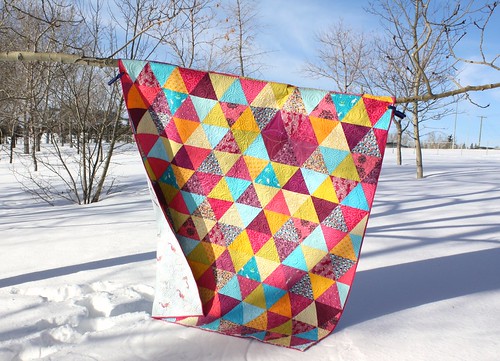
From K - Finished Mermaid Triangle Quilt

In 2013 I learned two important things about my crafty nature. The first being that I never start a project without intending to learn at least one new skill set, trick of the trade, or perhaps more importantly, insight into myself. And the second, is that 'random' absolutely does not come easy to me.
Kelsey's Mermaid Triangle Quilt
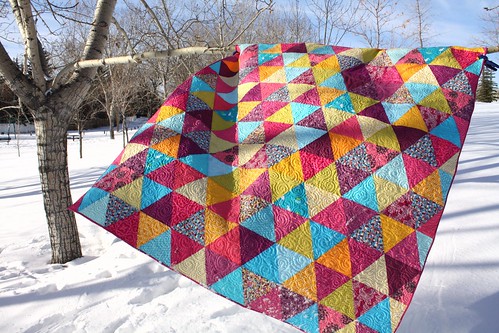
This quilt reinforced this by providing me with tons of new opportunities to learn - piecing triangles, matching points while seaming, and well, the whole random issue. I call 'random' an issue not because it's a problem, but because while making this quilt I learned that I need to push myself to just let go more often... or at least sometimes... or even just once as a start.
Kelsey's Mermaid Triangle Quilt
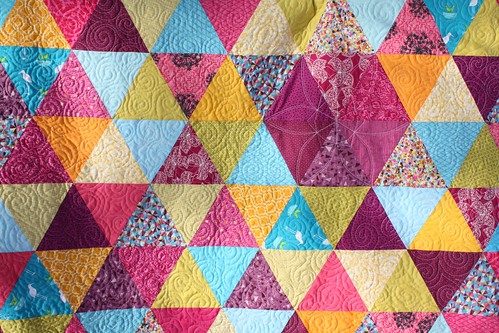
I admit that while making this quilt I struggled a lot with just trying to be random. In the end I settled on two guidelines to help me maintain a wee bit of structure. First that I did not want to place the same print side-by-side (because let's face it, I think we'd all struggle with that), and second, after much deliberation I did consult my Ruby Beholder (because people, sometimes value overrules random placement).
Kelsey's Mermaid Triangle Quilt
I finished up this quilt in the wee hours of Christmas Eve morning. Just in time to photograph, wash, and wrap it so that it was ready for Christmas morning.
Kelsey's Mermaid Triangle Quilt
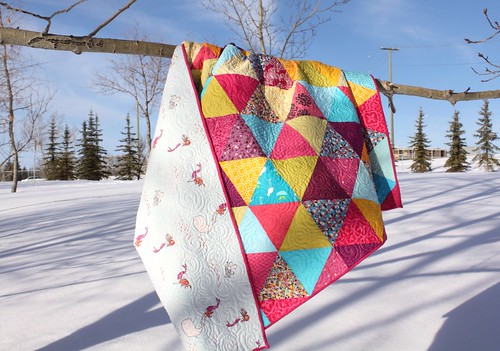
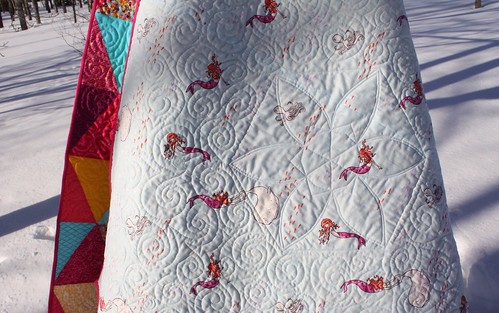
It's now at home with its new family. The super sweet and adorable recipient is my 3 month old niece. I'm keeping my fingers crossed that she grows up to love mermaids because I am a wee bit obsessed with the Sarah Jane print I used for the backing from Out to Sea

Kelsey's Mermaid Triangle Quilt

Final Quilt Details:
  • Quilt Name: Mermaid Triangle Quilt
  • Finished Size: lap sized (67" x 76")
  • Fabric: total hodgepodge of semi-solid prints from my stash to match the feature print (AMH's Sundials in Amethyst); Sarah Jane's Mermaid Play in Breeze (backing fabric)
  • Pattern: Sewing Summit class taught by Jeni Baker from In Color Order
  • Quilting: FMQ swirls in the background and a FWQ feature flower in the purple hexagon
Kelsey's Mermaid Triangle Quilt 
To learn more about the making of this quilt, go here and here. This is my forth completed project for the Q4 2013 Finish A-Long - read more about my other goals here.

Friday, 6 December 2013

From K - Finished Manly Plus Quilt

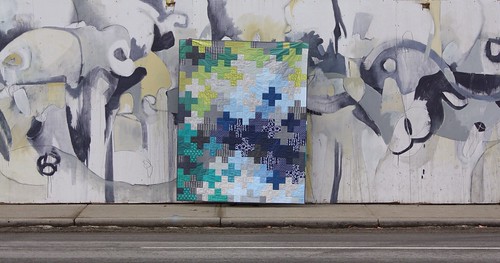
Have you ever had a quilt transpire in your mind with such a presence that you just couldn't shake it until it became a reality? That's what this quilt was to me. I tiny compliment from my husband on my Pink Pluses Quilt was all I needed to dream up this manly plus version for him to keep.
 
Manly Plus Quilt
For someone who is extremely supportive of my 'more often than not' all consuming hobby, I have yet to thank him with a quilt of his own. He has never nagged for one but I know he feels a bit slighted every time I show him a finished quilt and he says "wow! That one's great, do we get to keep it?!"... and then the answer is always "no".... *insert wife hanging her head in shame here*
 
I know what you're thinking - just give the man a quilt already Kelsey! And so I will.
 
Manly Plus Quilt
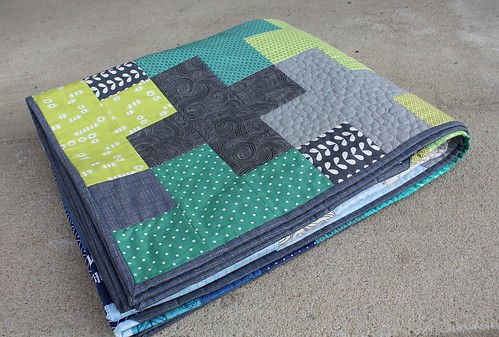
I wanted the backing to be timeless, simply, and obviously a bit manly. Using fabrics from the quilt top, I laid out varying widths of remnants in a strip to play up the gradient from the front.

 
I didn't want this quilt to be stiff, so I went with a combination of straight line quilting around each plus shape and then added some dense FMQ in a few feature pluses.
 
Manly Plus Quilt
Most of the prints in this top are patterned which adds a fair amount of texture. Two solid fabrics however stuck out, so I decided they needed a bit more attention.
 
The dark gray solid pluses received pebbling while the light gray pluses received a somewhat topographic design. I love that these designs are both inspired by natural elements and that they compliment the Architexture prints in the top.

Manly Plus Quilt
I also absolutely adore the texture that the randomly quilted pluses add to the quilt back. Happy surprises are the best surprises after all.
 
Final Quilt Details:

  • Quilt Name: Manly Plus Quilt
  • Finished Size: large lap sized (54" x 75")
  • Fabric: various prints from my stash
  • Pattern: I didn't follow a pattern. I just laid out rows using one 3.5"x9.5" and two 3.5" squares for each plus.
  • Quilting: quilted on my Janome 8200. Straight line quilting to outline each plus block, supplemented by FMQ pebbling and topographic lines in feature pluses.
 
I started quilting more than three years ago and I have never snuggled with a quilt that I've made, I don't even own a quilt myself (shameful I know). I'm feeling a bit selfish that I can't wait to gift this - not only because I can't wait to see his face, but also because it will undoubtedly be followed with a good ol' fashion couch snuggle fest. Pass the popcorn please!
 
Read more about this quilt top here. This is my third completed project for the Q4 2013 Finish A-Long - read more about my other goals here.
 
 Linking up to Needle and Thread Thursday and Finish it up Friday.


Thursday, 28 November 2013

From A - Basting Party

No not the turkey kind. The quilting kind. Managed to get two quilts basted today and I can't think of a better way to celebrate U.S. Thanksgiving when there is no family nearby.

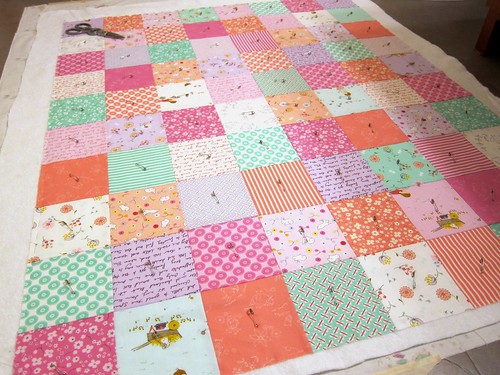
First up, the Posy baby quilt re-do.

Posy Baby Quilt Take 2

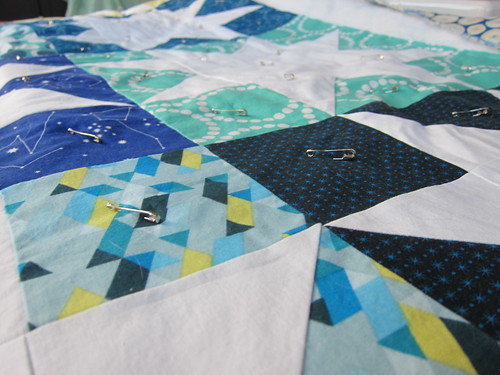
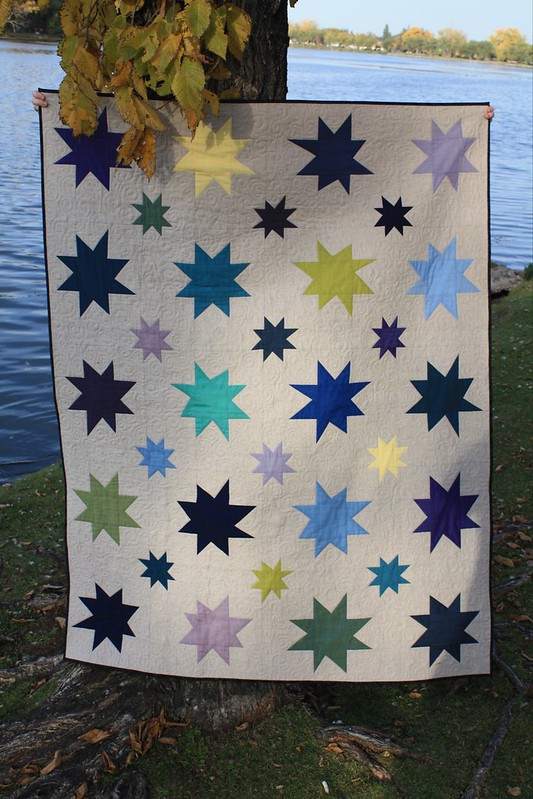
And next, the White Star quilt top I finished back in March.

White Star Quilt

It took me three tries to get the star quilt basted without giant lumps in the backing fabric. We were dangerously close to the point where professional intervention would be required. Fortunately I managed to overcome the issue by resorting to some James Bond style basting techniques that would make any of my quilt teachers blush with shame.

I was going to attempt a third but I think I need a mental health break from basting. Do any of you have any tips for basting on carpet? I am really missing our old hardwood floors, the bathroom floor was not nearly as cozy.

Wishing all of our American friends a wonderful Thanksgiving!!

Friday, 22 November 2013

From A - Definitely Darling

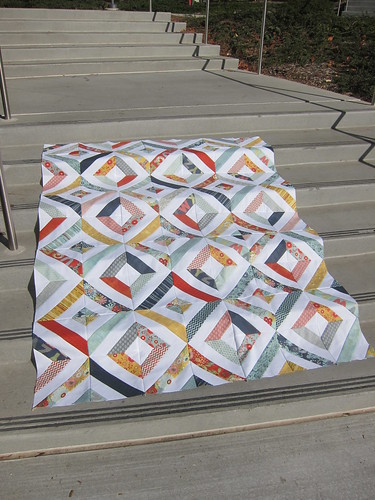
PB & J String quilt top 

I managed to carry the momentum I had starting this quilt through to the end and now it's on its way to Lindsay so that she can work her long-arm magic.

PB & J String quilt top

I used this video tutorial and am pretty happy with the result. Especially since I started this quilt as a way to burn off some stress and avoid writing a paper for a couple more hours. It was fun to just pull some random jelly rolls from the stash and start slicing.

PB & J String quilt top

I managed to let go of my obsessive tendencies a bit on this one (inspired by Anne's recent post) which means no fussy cutting, zero agonizing about layout and a questionable adherence to the quarter inch seam rule. It felt great! A quick and simple project. Exactly what I needed to get my quilting mojo back again.
Linking up to Finish it Up Friday.

Wednesday, 6 November 2013

From A - Magic!

While trying to stick to my "shop the stash" mantra, I pulled a couple of Jelly Rolls off of the shelf last week and tried to figure out what they were going to become.

Now I know that pre-cuts are generally looked down upon by "real" quilters but the truth is that when I was first starting out with the whole quilting thing, I bought a lot of them. They made quilting seem easy and manageable. I knew that the fabrics would look nice together when shopping online and it was an easy way to own a small piece of every print from a line that I loved.

In my search for a destination for these jellies, I stumbled on this video tutorial that I am sure that I pinned at some point (I never remember to check Pinterest...must work on that.) A bit more searching and I found actual written instructions for the same block which are much more detailed if that's your thing. Honestly though, I prefer the video as I too want to make a "darling, darling" quilt!

In the span of a couple of evenings, I took a pile of strips

Strips

Turned them into "tubes", cut them up

Cutting 

and ended up with perfect (and darling) string quilt blocks.

Blocks

A little bit more cutting this morning, gave me a healthy stack of perfect little blocks.

Stack of Blocks

I forgot how easy and fun sewing with pre-cuts can be. Lately, my available sewing time has been measured in minutes instead of hours. At this rate, I might actually finish this one before the month is out

Magic!!

Linking up to WiP Wednesday over at Freshly Pieced.

Wednesday, 30 October 2013

From K - Wordless WiP Wednesday

Making progress on a special Christmas present. The pieces are cut, now to start on the layout.


Linking up to WiP Wednesday at Crazy Mom Quilts.

Friday, 25 October 2013

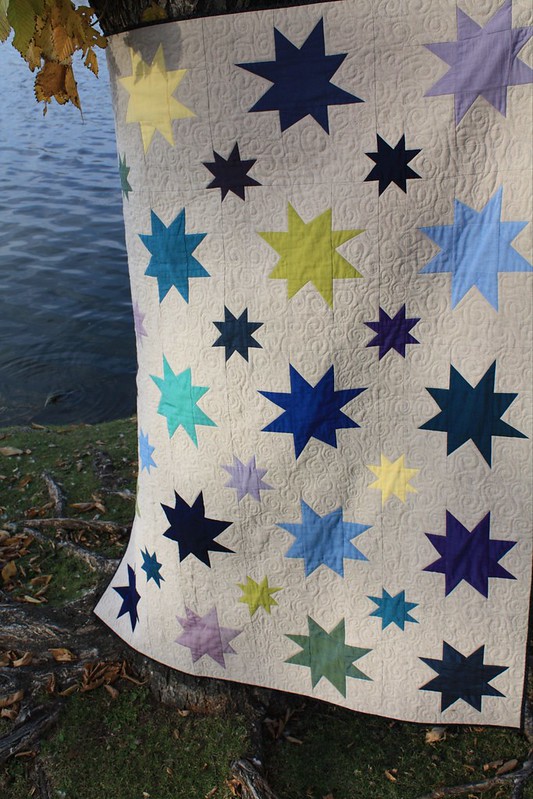
From A & K - Finished Wonky Star Quilt (BQF Fall 2013 Entry)

Over the past few months we have been collaborating on a quilt via text message, photo emails, screen grab fabric swatch ideas and one big Sewing Summit sewing session. After the top was pieced at Sewing Summit, Kelsey brought this beauty home to back, quilt and bind it in time for a joint gifting to a very special great aunt who just turned 90 over the Canadian Thanksgiving weekend. We both made the trip back home to visit her for her birthday and I'm sure you can imagine we all had a great deal to be thankful for that weekend.

Because our great aunt loves simplicity and isn't fussy about florals or very feminine design, we thought wonky stars with gorgeous semi-solids might be the best way to balance glamorous fabric and a sleek, simple, modern design.

This quilt top was made with lap warming in mind, so when we planned it out, the focus was all about the texture. Equal parts Oakshott and Shot Cotton, the wonky stars were made to be focal points all in their own right.

While the Kaffe Fassett Shot Cotton created soft and delicate stars, the Oakshott Cotton added depth and gloss. To let these solids maintain their shine, Kelsey chose to stitch in the ditch around each star, then fill in the entire background with FMQ swirls. A mini ode to Starry Starry Night by van Gogh, pure genius that he was. If only he had quilted something, I'm sure it would have been divine.

Wonky Star Quilt
Amanda picked out the perfect backing and binding fabric down in California by sending multiple photo texts. It was the perfect 10 minute break for Kelsey from work, and felt a bit like having a personal fabric shopper! Amanda found this background print in the Aboriginal section of her LQS and we both agreed it was perfect.

When we were little our great aunt adored sweaters that reflected a very similar esthetic and style. While it's not the typical modern print that either of us would normally gravitate towards, it felt a bit like hitting the jackpot. When the quilt was gifted it it was easy to see our great aunt agreed.

Final Quilt Details:
  • Quilt Name: Wonky Stars Quilt
  • Finished Size: lap sized (47.5" x 60.5")
  • Fabric: Oakshott Cotton and Kaffe Fassett Shot Cotton (wonky stars), Essex yarn dyed linen in flax (background)
  • Pattern: Wonky Stars made using this tutorial
  • Quilting: stitch in the ditch around each star, then FMQ swirls in the background.
This finish coincides with the Fall 2013 Bloggers Quilt Festival over at Amy's Creative Side. We are linking up this finish in the Quilt Photography Category along side a number of very talented bloggers. Be sure to swing by Amy's blog to check out all of the amazing link ups, and you still have time to link up a project yourself, so put on your party pants and get your linky on!

AmysCreativeSide

This is Kelsey's second completed project for the Q4 2013 Finish A-Long - read more about her other goals here.

Linking up to TGIFF and Finish it up Friday over at Crazy Mom Quilts.

Friday, 6 September 2013

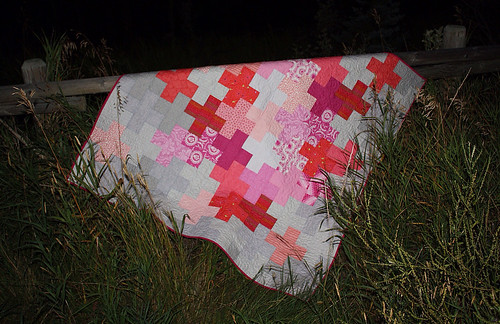
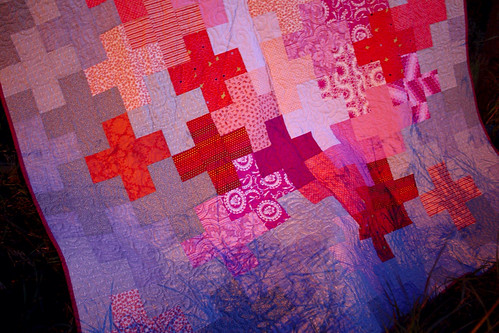
From K - Finished Pink Pluses Quilt

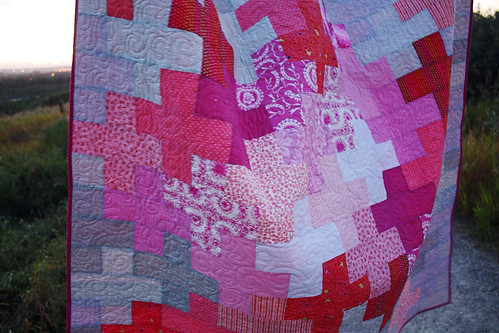
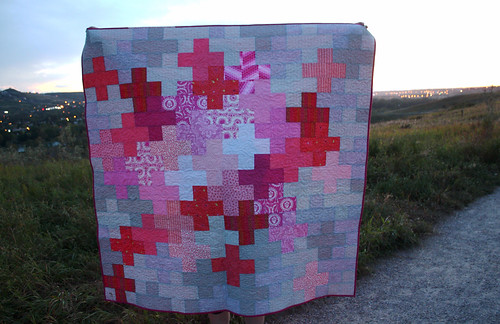
I recently finished my Pink Pluses Quilt and I am so excited to donate it to a great cause tomorrow!
 
 
I mentioned in an earlier post that an all pink quilt was a bit out of my comfort zone so I balanced the donated pink fabrics with some gray prints and lighter pink prints from my stash. I honestly couldn't be more pleased with how well the fabrics blend together.
 
 
When contemplating what to make with a collection of donated pink strips, I thought hard about how I could make something special, yet something that still felt like it had a small piece of me in it. In the end, I went modern with the design and used a number of gray geometric background prints to balance out the bold pink floral pluses.
 
 
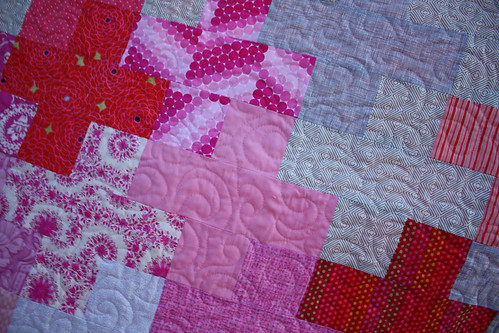
Since this quilt has a very feminine colour scheme, I thought I would try my hand at some swirl quilting to soften the edges of the plus pattern. It was my first time attempting this design but I know it won't be my last. I'd like to try this again soon. The texture it creates is so soft!
 
 
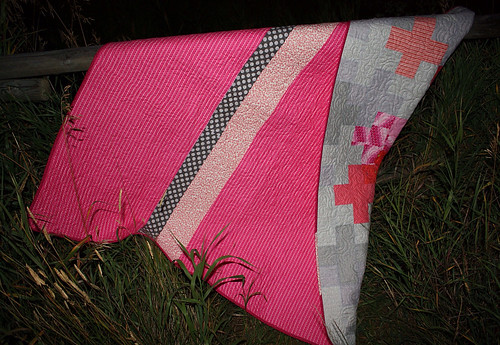
For the backing I kept is simple, a dominant pink fabric with a couple of modern prints to balance it out. I wanted the back to emote a similar balance of modern femininity and I hope this back reflects that.
 
 
I took these photos at sunset (which unfortunately doesn't translate at all in the pictures) and you can see I was loosing the light quickly!
 
 
If you'd like to read more about the Southern Alberta flooding and how it effected my city, I have an early post here. It has been incredible to watch the outpouring of support and donations sent in from the quilting community for this cause. I hope this quilt brings some comfort and love to a much deserving family.
 
I'm linking up to TGIFF and Finish it up Friday.