
As an avid hobbyist in all things crafty, I can't resist the opportunity to gift something personal and homemade for any special occasion. With all of the baby showers I've attended over the past few years though I've often struggled to find that perfect gift that a new family or a family on their second child might find unique.
About 8 months ago a stumbled across a couple of blogs that framed paper punch hearts and butterflies. Unfortunately when my computer died a couple months back I lost all of my saved links so I can't share my original inspiration (if only I had been on pinterest back then!), but here is my interpretation of a unique gift for that baby with everything.
Framed Sheep - Nursery Artwork Tutorial

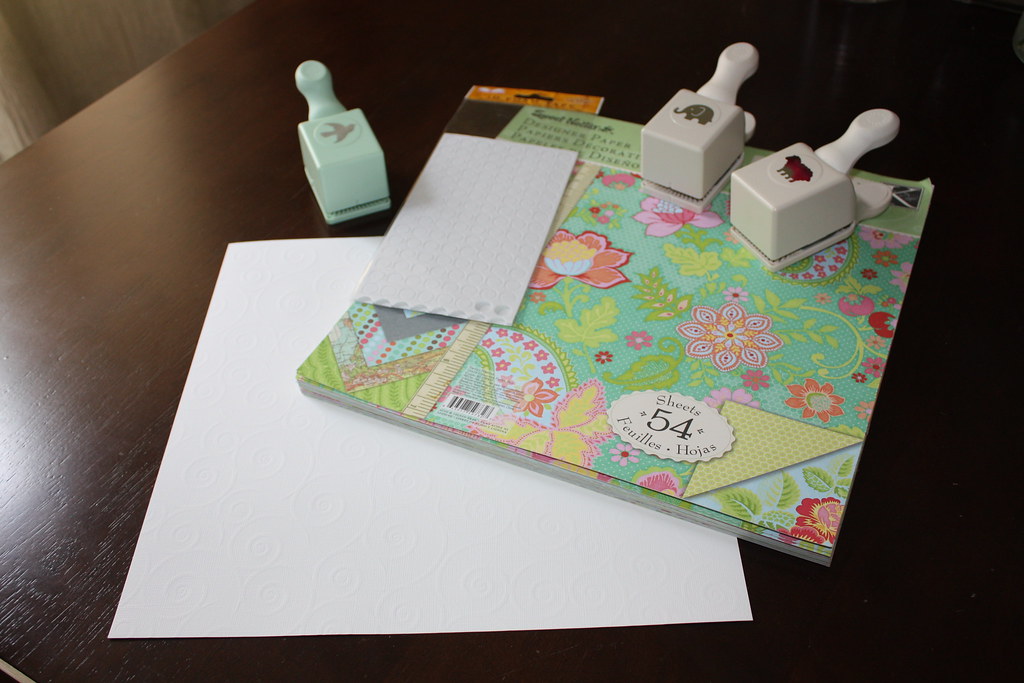
Supplies used for this craft include:
- A frame with a double mat;
- Scrapbook paper of your choice;
- 3D Foam Adhesive Dots (adhesive on both sides);
- A sheep shaped paper punch (or any other shape you wish); and
- A great pre-taped show on your PVR to keep you entertained.
When choosing material, think of the nursery it will hang in and feel free to experiment! If I'm not sure what the decor plans are, I tend to use a simple textured neutral background scrapbook paper and then use colourful animal shapes, hearts, or fleur-de-lis on top. Remember though that this craft is all about tailoring it to the recipient and the more creative the better! I once used newspaper print from the day of birth as the background with red hearts placed on top - the sky is the limit so think outside the box.
To start off, begin by punching sheep shapes from your selected paper and tentatively lay them out on your background material. Without adhering anything yet, lay the double mat on top of the background material and ensure the placements of sheep look level. I like the good ol' eye ball level but if you are worried about spacing things perfectly feel free to mark dots on your background paper using a ruler as your guide.
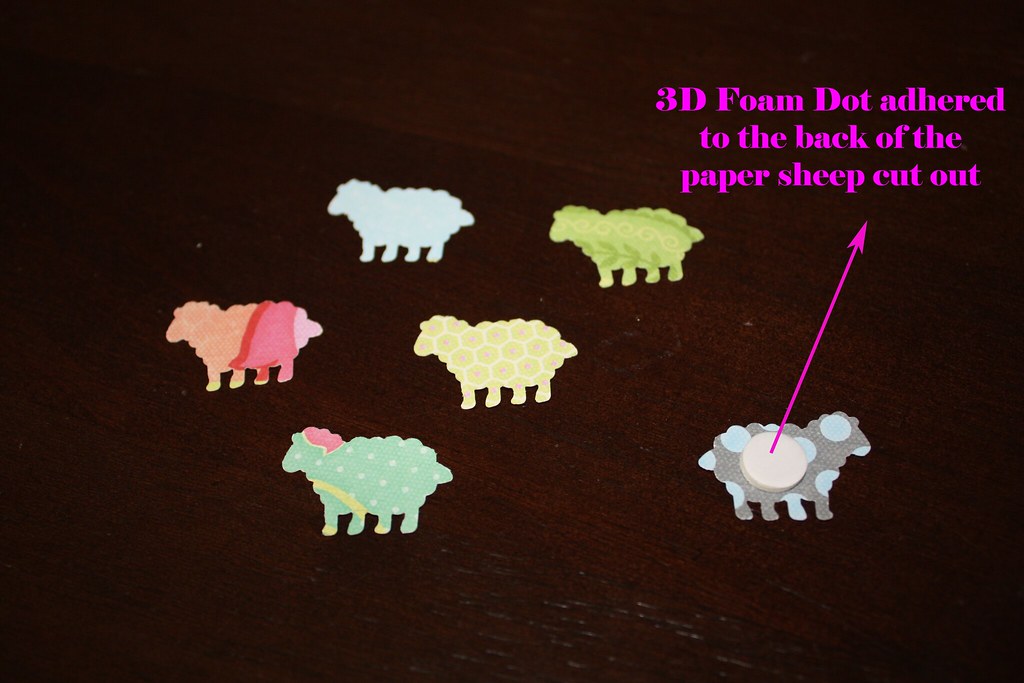
Once the sheep are all set, remove each sheep independently and place a 3D foam dot on the back (available at scrapbooking stores and most big box craft shops). At this time you really want to make sure you are happy with their placement. One by one, remove the protective backing off of each dotted sheep and press against the background paper, being careful not to bend the delicate paper legs.

Now that the sheep are all laid out and glued down, the next step is to attach the double mat to the background paper. To accomplish this and ensure the sheep maintain their 3 dimensional appearance, I use additional 3D foam dots around the outside of the background paper and place the mat squarely on top.
Lastly before framing, consider adding a personal touch like writing the birth date or baby name on one of the paper sheep (as this gift has yet to be delivered I refrained from showing you that info and ruining my friends' surprise). Don't forget to polish up the glass prior to delivery and be careful when you wrap it.

This is the perfect gift to make in batches and keep on hand for your upcoming baby shower invites.I hope that you've been inspired by this post to create your own custom nursery artwork.
Happy Crafting!
No comments:
Post a Comment
Thank you so much for your comment! We love your comments and read every one. If you have specific questions feel free to email us at contact@ everydayfray.com, and we will be sure to get back to you as soon as we can. Thanks for stopping by! xoxo A&K