
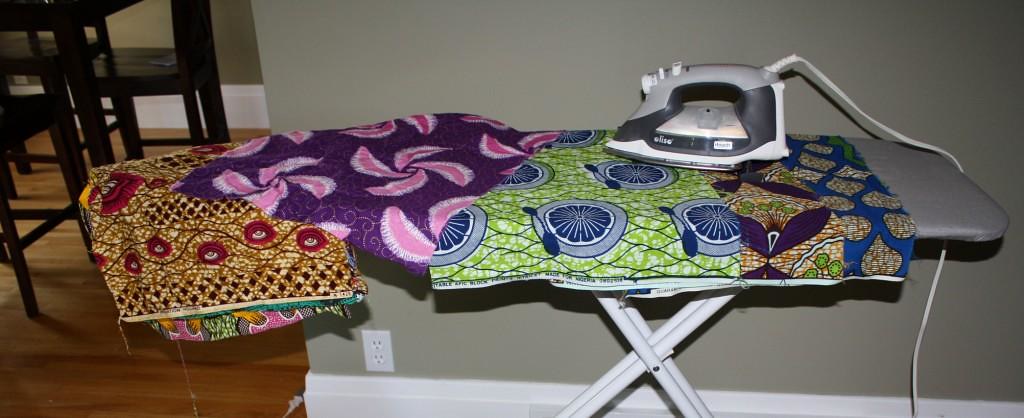
I've spent nearly 15 hours this week washing, ironing and cutting wax print scraps for the two Ghanaian quilts I have planned. Needless to say, my living room looks like a hurricane of fabric hit it, and I'm biting at the bit to set up my new craft space. Big plans are in motion right now on that project (including the recent purchase of a convertible sofa!) and I'm hoping to be moved in within the next few weeks.
In the meantime I am fortunate to be spending the next five days at our cabin, and I've already found some down time to sew a small project.

On my Summer Sewing Hit List post I mentioned that I planned to make my sister-in-law an iPad cover. Today I spent my afternoon putting the finishing touches on her new case and I love the way it turned out. I followed this great tutorial by One Shabby Chick and then tweaked a couple things to customize it a bit.
Altogether there were three main edits that I made to the original pattern. I had the perfect green flanelette in my stash so I decided to line the inside of both my own case, as well as my sister-in-laws case with it.
I also decided early on in my planning process that I wanted to incorporate some applique into these projects. The photo below gives you a little glimps at the double applique technique that I used to highlight a little owl from this adorable Alexander Henry fabric. Keep your eyes peeled for a tutorial on this technique soon.

Lastly I decided that I wanted a full width fold-over flap rather than the narrow one that is shown in the pattern. To accomplish this I began by cutting my flap pieces to 8 x 4.5 inches and then rounded two of the corners on each piece using my rotary cutter and a coffee mug as a guide. Once the pieces were sewn together all that was left to do was add some notches around the corners (as shown below). I then simply turned the flap right-side out and continued along with the remaining directions.

Happy Canada Day to all my fellow Canadians and have an enjoyable long weekend. I know that inbetween fireworks and bbqs I will be sneaking in another small projects or two, will you?
No comments:
Post a Comment
Thank you so much for your comment! We love your comments and read every one. If you have specific questions feel free to email us at contact@ everydayfray.com, and we will be sure to get back to you as soon as we can. Thanks for stopping by! xoxo A&K